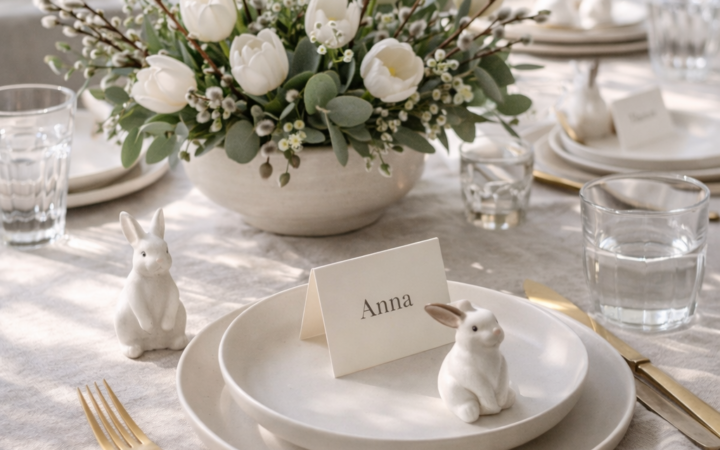
Have you ever stared at a beautifully plated dish, whipped out your phone, and ended up with a photo that looks nothing like the masterpiece in front of you? I've been there too. As a food blogger, I've spent countless hours learning the secrets to making food look as irresistible in pictures as it tastes on the plate.
Advertisements1
This guide is born from my travels and kitchen experiments—from bustling spice markets in Marrakech to cozy patisseries in Paris. I'll walk you through the simple, practical steps to capture appetizing food pictures that will make your followers' mouths water. No fancy equipment required, just your phone, a window, and a little creativity.
Whether you're an aspiring food blogger or just want to up your Instagram game, these tips will transform your food photography. Let's dive in and make your dishes the stars of the show!
Why You'll Love This Recipe
About the Ingredients
1 dish of your favorite meal (e.g., pasta, salad, dessert)
Any photogenic dish works; choose something with color and texture. For best results, use a dish that holds its shape and has contrasting colors.
1 window with natural light
Indirect sunlight is best; avoid harsh midday sun. If your window is too bright, diffuse with a sheer curtain.
1 smartphone or camera
Any phone camera works; newer models have better sensors. For manual control, use a DSLR or mirrorless if you have one.
1 clean background surface (wood, marble, or neutral fabric)
A matte surface reduces glare. Use a cutting board, table, or a piece of fabric as a backdrop.
2-3 props (e.g., fork, napkin, herbs, spices)
Props add context and depth. Choose items that complement the dish's color palette.
1 spray bottle with water (for fresh look)
A fine mist adds a dewy freshness to fruits and vegetables. Use only on foods that look good wet, like salads or berries.
1 piece of white foam board or cardboard (optional reflector)
Bounces light to fill shadows. A piece of white poster board works perfectly.
1 photo editing app (e.g., Snapseed, Lightroom Mobile)
Free apps offer powerful adjustments. Snapseed is beginner-friendly and free.
Tips & Tricks
- Shoot during the 'golden hour' (early morning or late afternoon) for warm, diffused light, but avoid direct sun that creates harsh shadows.
- Use a tripod or steady surface to avoid blurry images, especially in low light.
- Don't over-style; sometimes less is more. Start with a clean composition and add props gradually.
- Take multiple shots from different angles to find the most flattering perspective.
Pro Tips
Step-by-Step Instructions
1. Prepare Your Dish
Cook or plate your dish attractively. Add a garnish like fresh herbs or a drizzle of sauce to enhance color and texture. Ensure the plate is clean and wipe any smudges.
2. Find the Light
Position your setup near a window with indirect light. Turn off any overhead lights to avoid mixed color casts. Test by holding your hand near the food—soft shadows are ideal.
3. Style the Scene
Place the dish on your chosen background. Add props like a fork, napkin, or scattered ingredients (e.g., cherry tomatoes or basil leaves) to create a story, but keep the focus on the food.
4. Set Up Reflector
Place the white foam board opposite the window to bounce light onto the shadow side of the dish. This fills in dark areas and adds a professional look.
5. Compose Your Shot
Choose an angle—45 degrees is a safe start. Use the rule of thirds: position the dish off-center for a dynamic composition. Leave some negative space for text overlays if needed.
6. Adjust Camera Settings
On your phone, tap the screen to focus on the main part of the dish. Then slide your finger up or down to adjust exposure until the image is bright but not blown out. If using a camera, set ISO low (100-200) and aperture wide (f/2.8) for a blurred background.
7. Capture Multiple Shots
Take several photos from different angles and distances. Try close-ups of textures and full-plate shots. Use burst mode to catch the perfect moment if steam is rising.
8. Edit to Enhance
Import the best shot into an editing app. Increase warmth slightly, boost saturation, and adjust shadows to reduce darkness. Crop if needed. Avoid over-processing; aim for a natural look.
Delicious Variations
Overhead Flat Lay
For a top-down view, arrange the dish and props on a flat surface and shoot directly above for a graphic, styled look.
Action Shot
Capture a fork lifting a bite or a spoon being poured to add movement and life to the image.
Lifestyle Scene
Include hands holding a fork or a cup of coffee to create a relatable, everyday moment.
How to Store Appetizing Food Pictures
Refrigerator
Food photography is about the moment; store leftovers properly in airtight containers to enjoy later, but the photos are best taken fresh.
Freezer
If you need to save a dish for later, freeze it in portions, but note that texture changes may affect its appearance.
Reheating
For reshoots, reheat gently and add fresh garnishes to restore a just-cooked look.
Frequently Asked Questions
Q: What is the best time of day to take food pictures?
The best time is during the golden hour—early morning or late afternoon—when sunlight is soft and warm. Avoid harsh midday sun that creates strong shadows.
Q: How do I make food look shiny and fresh?
Lightly brush oil on grilled items or use a spray bottle to mist water on fruits and vegetables. This adds a glistening effect that signals freshness.
Q: Do I need a professional camera to take good food photos?
No, a smartphone with a good camera is enough. Focus on lighting, composition, and simple editing to achieve professional-looking results.
Q: How can I avoid blurry food photos?
Ensure good lighting to allow faster shutter speeds. Hold your phone steady or use a tripod. Tap to focus and let the camera stabilize before shooting.
Q: What background colors work best for food photography?
Neutral colors like white, gray, wood tones, or dark slate complement food without distracting. Avoid busy patterns that compete with the dish.
Ready to make your dishes the envy of the internet? Grab your phone and try these tips today. Share your food photos with me on social media using #AishaEats—I'd love to see your creations!
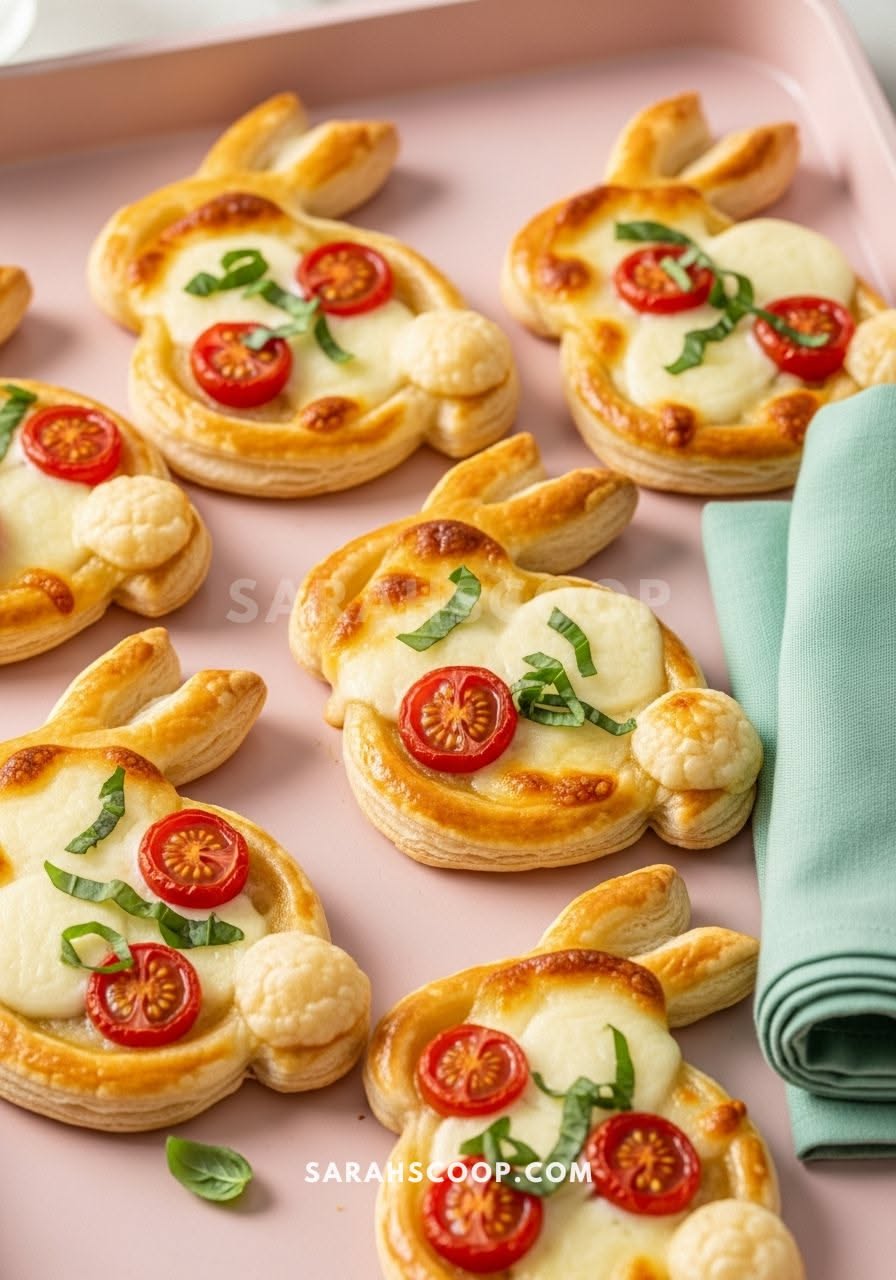
Appetizing Food Pictures
Learn to capture appetizing food pictures with natural light, styling, and simple camera tricks for mouthwatering shots every time.
🧂 Ingredients
- 1 dish of your favorite meal (e.g., pasta, salad, dessert)
- 1 window with natural light
- 1 smartphone or camera
- 1 clean background surface (wood, marble, or neutral fabric)
- 2-3 props (e.g., fork, napkin, herbs, spices)
- 1 spray bottle with water (for fresh look)
- 1 piece of white foam board or cardboard (optional reflector)
- 1 photo editing app (e.g., Snapseed, Lightroom Mobile)
📋 Instructions
- 1Prepare Your Dish — Cook or plate your dish attractively. Add a garnish like fresh herbs or a drizzle of sauce to enhance color and texture. Ensure the plate is clean and wipe any smudges.
- 2Find the Light — Position your setup near a window with indirect light. Turn off any overhead lights to avoid mixed color casts. Test by holding your hand near the food—soft shadows are ideal.
- 3Style the Scene — Place the dish on your chosen background. Add props like a fork, napkin, or scattered ingredients (e.g., cherry tomatoes or basil leaves) to create a story, but keep the focus on the food.
- 4Set Up Reflector — Place the white foam board opposite the window to bounce light onto the shadow side of the dish. This fills in dark areas and adds a professional look.
- 5Compose Your Shot — Choose an angle—45 degrees is a safe start. Use the rule of thirds: position the dish off-center for a dynamic composition. Leave some negative space for text overlays if needed.
- 6Adjust Camera Settings — On your phone, tap the screen to focus on the main part of the dish. Then slide your finger up or down to adjust exposure until the image is bright but not blown out. If using a camera, set ISO low (100-200) and aperture wide (f/2.8) for a blurred background.
- 7Capture Multiple Shots — Take several photos from different angles and distances. Try close-ups of textures and full-plate shots. Use burst mode to catch the perfect moment if steam is rising.
- 8Edit to Enhance — Import the best shot into an editing app. Increase warmth slightly, boost saturation, and adjust shadows to reduce darkness. Crop if needed. Avoid over-processing; aim for a natural look.

Aisha writes about travel and cultural immersion, sharing stories and tips from her journeys to off-the-beaten-path destinations. She emphasizes respectful tourism, budget-friendly adventures, and the importance of connecting with local communities.