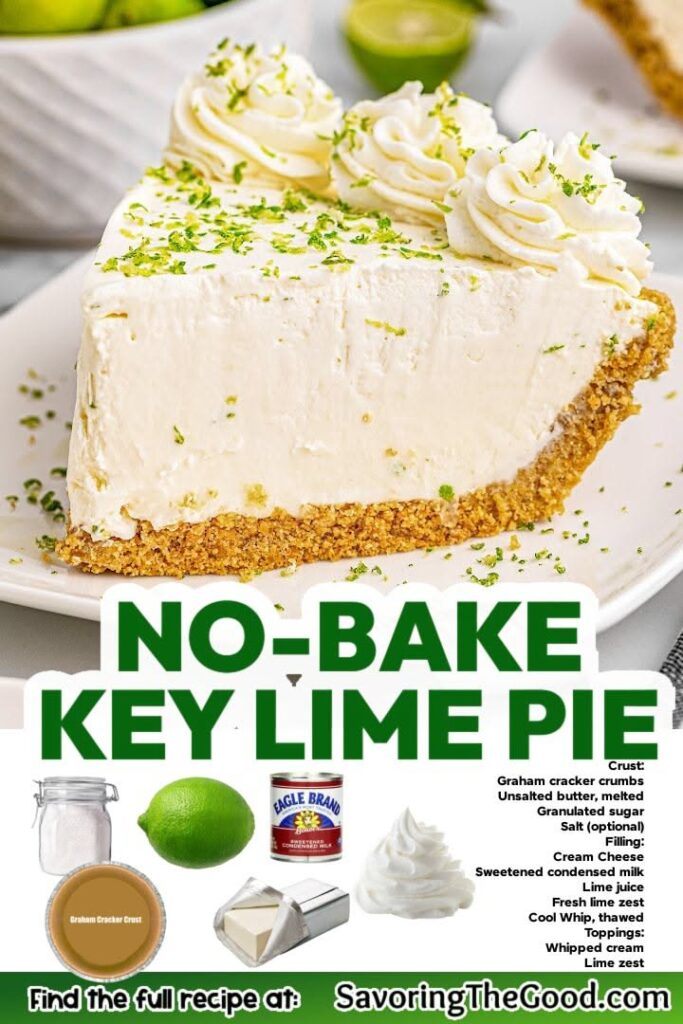
There's something magical about the first bite of a Key lime pie – that bright, tangy zing that dances on your tongue and instantly transports you to a sun-soaked porch in the Florida Keys. As a food blogger who loves to travel and taste the world, I've had my fair share of Key lime pies, from roadside stands to fancy restaurants. But this version, made with the beloved Cool Whip, holds a special place in my heart. It's the one I make when I need a taste of vacation without the plane ticket.
Advertisements1
I remember the first time I made this pie for a family gathering. The kitchen filled with the scent of lime zest, and everyone gathered around as I pulled it from the fridge, the creamy top jiggling just a little. The first slice revealed a silky, cloud-like filling that melted in the mouth, balanced by the buttery crunch of the graham cracker crust. It was an instant hit, and I've been perfecting it ever since.
This recipe is more than just a dessert; it's a celebration of simplicity. With just a handful of ingredients and no oven required, it's perfect for busy weeknights, last-minute potlucks, or when you simply want to treat yourself. The Cool Whip adds a light, airy texture that makes this pie dangerously easy to eat. So, grab your limes and let's whip up some sunshine!
Why You'll Love This Recipe
About the Ingredients
1 1/2 cups (150g) graham cracker crumbs
Use store-bought crumbs or crush whole graham crackers in a food processor. For a gluten-free option, use gluten-free graham crackers.
1/4 cup (50g) granulated sugar
Adds sweetness to the crust. You can substitute with coconut sugar for a slightly deeper flavor.
6 tablespoons (85g) unsalted butter, melted
Binds the crust together. You can use salted butter and omit the added salt, or use vegan butter for a dairy-free version.
1 can (14 oz / 397g) sweetened condensed milk
This is the base of the filling, providing sweetness and richness. For a dairy-free alternative, use a coconut-based condensed milk.
1/2 cup (120ml) Key lime juice (freshly squeezed preferred)
Fresh Key limes are smaller and more tart than regular limes. If you can't find them, use regular lime juice and add a bit more zest for intensity.
1 tablespoon Key lime zest (about 2 limes)
The zest adds aromatic oils and enhances the lime flavor. Make sure to zest before juicing.
1 1/2 cups (360ml) Cool Whip (thawed)
The star ingredient that makes the filling light and airy. You can use homemade whipped cream, but Cool Whip stabilizes better.
For garnish: extra Cool Whip, lime slices, and zest
Adds a pretty finish and extra lime flavor. You can also use mint leaves for a pop of color.
Tips & Tricks
Don't overmix the filling
Fold the Cool Whip gently into the condensed milk and lime mixture. Overmixing can deflate the airy texture, making the pie dense.
Chill thoroughly
This pie needs at least 4 hours in the fridge, preferably overnight, to set properly. Cutting it too early will result in a messy slice.
Use room temperature ingredients
Make sure your Cool Whip is thawed but still cold, and your condensed milk is at room temperature to ensure smooth incorporation.
Pro Tips
Step-by-Step Instructions
1. Make the Crust
In a medium bowl, combine graham cracker crumbs, sugar, and melted butter. Mix until the crumbs are evenly moistened. Press the mixture firmly into the bottom and up the sides of a 9-inch pie dish. For a firmer crust, bake at 350°F (175°C) for 8-10 minutes until lightly golden and fragrant. Let cool completely.
2. Mix the Filling
In a large bowl, whisk together the sweetened condensed milk, Key lime juice, and Key lime zest until well combined. The mixture will thicken slightly. Let it sit for 5 minutes to allow the lime to react.
3. Fold in Cool Whip
Gently fold the thawed Cool Whip into the lime mixture using a spatula. Fold in a circular motion from the bottom up until no white streaks remain. Be careful not to overmix – you want to keep the airy texture.
4. Fill the Crust
Pour the filling into the cooled crust and spread it evenly with a spatula. Tap the pie dish gently on the counter to release any air bubbles.
5. Chill the Pie
Refrigerate the pie for at least 4 hours, or overnight, until firm and set. The filling should be firm to the touch and not jiggle when shaken.
6. Garnish and Serve
Before serving, spread a thin layer of extra Cool Whip over the top (optional). Garnish with lime slices and a sprinkle of zest. Slice with a sharp knife, wiping it clean between cuts for neat pieces. Serve chilled.
Delicious Variations
Layered Lime Pie
Add a layer of sweetened cream cheese (8 oz softened, beaten with 1/4 cup sugar) between the crust and filling for a cheesecake-like texture.
Coconut Key Lime Pie
Toast 1/2 cup shredded coconut and sprinkle it over the top along with the lime zest for a tropical twist.
Spicy Key Lime Pie
Add a pinch of cayenne pepper or a few drops of chili-infused honey to the filling for a sweet-heat surprise.
How to Store Cool Whip Key Lime Pie Recipe
Refrigerator
Store in the refrigerator, covered, for up to 3 days. The pie may soften slightly over time but will remain delicious.
Freezer
You can freeze the pie for up to 1 month. Wrap tightly in plastic wrap and then foil. Thaw in the refrigerator overnight before serving.
Reheating
This pie is served cold, so no reheating needed. If frozen, thaw in the fridge for 4-6 hours.
Frequently Asked Questions
Q: Can I use regular limes instead of Key limes?
Yes, you can use regular limes, but the flavor will be slightly less tart and aromatic. To mimic Key lime flavor, add extra zest and a little more juice.
Q: How do I know when the pie is set?
The pie is set when it's firm to the touch and doesn't jiggle in the center when you gently shake the dish. This usually takes at least 4 hours, but overnight is best.
Q: Can I make this pie without Cool Whip?
Yes, you can substitute with freshly whipped heavy cream (1 1/2 cups) stabilized with a bit of powdered sugar and vanilla. However, the texture will be slightly different and may not hold up as long.
Q: Why is my pie runny?
A runny pie usually means it wasn't chilled long enough or the filling was overmixed, deflating the Cool Whip. Make sure to chill for at least 4 hours and fold gently.
Q: Can I make this pie gluten-free?
Absolutely! Use gluten-free graham cracker crumbs or crushed gluten-free cookies for the crust. The rest of the ingredients are naturally gluten-free.
I hope this Cool Whip Key Lime Pie brings a little sunshine to your table. It's a reminder that the best desserts are often the simplest. Give it a try and let me know how it turns out in the comments below! And if you're feeling adventurous, take this pie on a picnic or to a potluck – it's sure to be a crowd-pleaser. Happy baking!
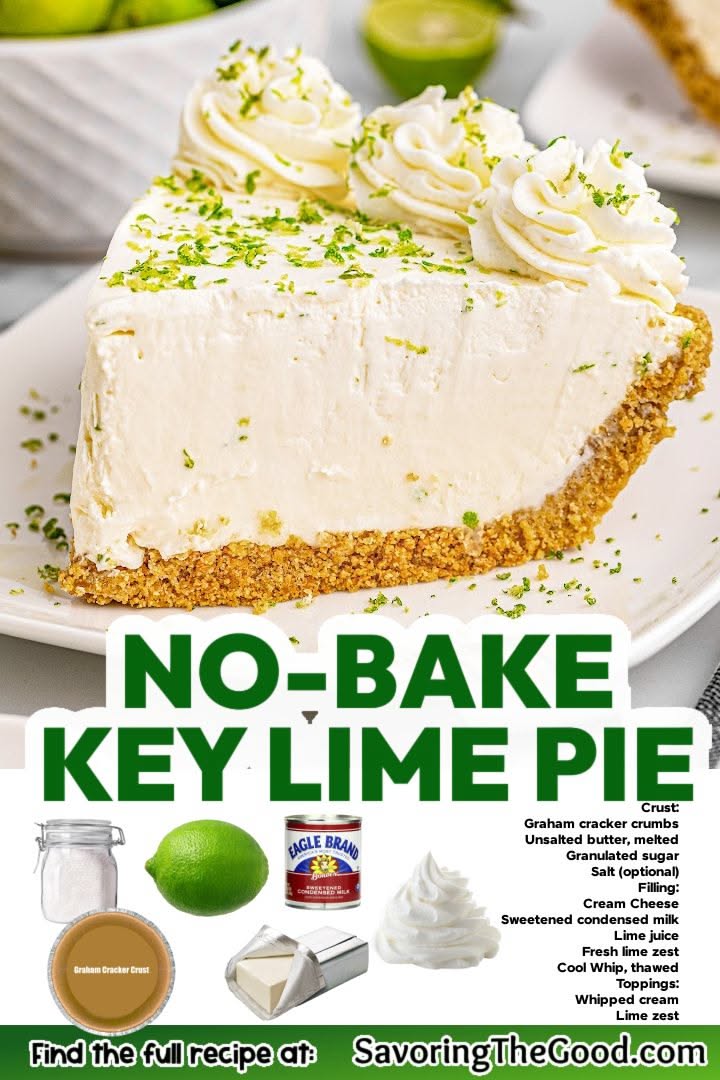
Cool Whip Key Lime Pie Recipe
This Cool Whip Key Lime Pie is a creamy, tangy no-bake dessert that comes together in minutes for a refreshing treat.
🧂 Ingredients
- 1 1/2 cups (150g) graham cracker crumbs
- 1/4 cup (50g) granulated sugar
- 6 tablespoons (85g) unsalted butter, melted
- 1 can (14 oz / 397g) sweetened condensed milk
- 1/2 cup (120ml) Key lime juice (freshly squeezed preferred)
- 1 tablespoon Key lime zest (about 2 limes)
- 1 1/2 cups (360ml) Cool Whip (thawed)
- For garnish: extra Cool Whip, lime slices, and zest
📋 Instructions
- 1Make the Crust — In a medium bowl, combine graham cracker crumbs, sugar, and melted butter. Mix until the crumbs are evenly moistened. Press the mixture firmly into the bottom and up the sides of a 9-inch pie dish. For a firmer crust, bake at 350°F (175°C) for 8-10 minutes until lightly golden and fragrant. Let cool completely.
- 2Mix the Filling — In a large bowl, whisk together the sweetened condensed milk, Key lime juice, and Key lime zest until well combined. The mixture will thicken slightly. Let it sit for 5 minutes to allow the lime to react.
- 3Fold in Cool Whip — Gently fold the thawed Cool Whip into the lime mixture using a spatula. Fold in a circular motion from the bottom up until no white streaks remain. Be careful not to overmix – you want to keep the airy texture.
- 4Fill the Crust — Pour the filling into the cooled crust and spread it evenly with a spatula. Tap the pie dish gently on the counter to release any air bubbles.
- 5Chill the Pie — Refrigerate the pie for at least 4 hours, or overnight, until firm and set. The filling should be firm to the touch and not jiggle when shaken.
- 6Garnish and Serve — Before serving, spread a thin layer of extra Cool Whip over the top (optional). Garnish with lime slices and a sprinkle of zest. Slice with a sharp knife, wiping it clean between cuts for neat pieces. Serve chilled.

Aisha writes about travel and cultural immersion, sharing stories and tips from her journeys to off-the-beaten-path destinations. She emphasizes respectful tourism, budget-friendly adventures, and the importance of connecting with local communities.