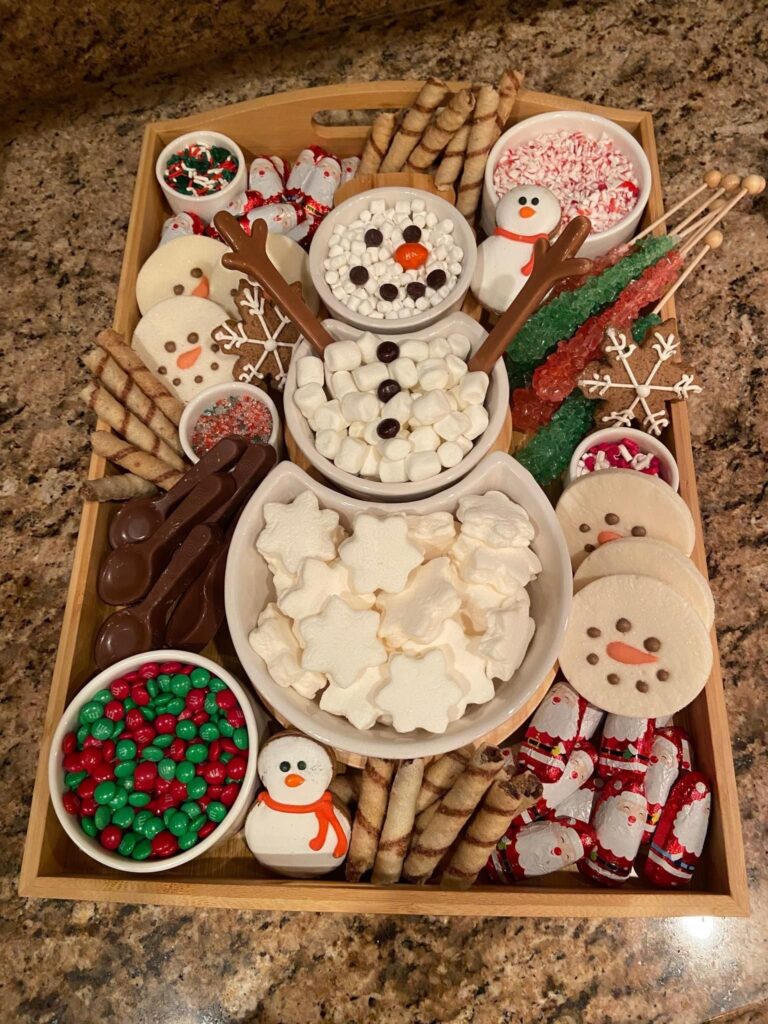
I still remember the first time I built a candy tray for my niece's birthday. I grabbed a big wooden cutting board, raided the bulk bins, and watched a table full of kids lose their minds over a rainbow of gummies, chocolates, and sour belts. It took me fifteen minutes and zero cooking.
Advertisements1
That's the magic of a candy charcuterie board. You don't need a recipe in the traditional sense, you need a plan. Which candies play well together, how to keep things from melting, and how to make a wooden tray look like it came from a fancy candy shop.
Today I'm sharing my exact blueprint, the same one I use for movie nights, baby showers, and teacher appreciation tables. Once you build one, you'll never go back to a plain bowl of mixed candy again. Small steps, big change.
Why You'll Love This Recipe
About the Ingredients
3 cups (about 450g) assorted gummy candies (gummy bears, worms, rings)
Gummies give you chewy texture and bright color. If you want a gelatin-free option, look for pectin-based gummies at natural grocers.
2 cups (about 300g) chocolate candies (wrapped squares, chocolate-covered caramels, peanut butter cups)
Mix milk and dark chocolate for contrast. Buying tip: mini or individually wrapped chocolates keep hands clean and slow melting.
1 1/2 cups (about 200g) sour belts and licorice twists, cut into 2-inch pieces
These add height and a tangy punch. If you dislike licorice, swap in sour straws or rainbow taffy.
1 cup (about 150g) hard candies (lollipops, wrapped fruit drops, rock candy sticks)
Hard candies are your structural anchors because they don't melt or smear. Substitution: use wrapped mints if you want a fresher finish.
1 cup (about 120g) marshmallows (mini and jumbo mixed)
Marshmallows fill gaps and add soft white contrast. Buying tip: jumbo marshmallows can be halved and stood upright as edible dividers.
1/2 cup (about 60g) yogurt-covered raisins or pretzels
These add creamy tang and a little salt to balance the sugar. Substitution: white chocolate-covered pretzels work beautifully too.
1/4 cup (about 30g) crushed freeze-dried strawberries or raspberries
A light dusting of crushed berries adds a gourmet touch and natural pink color. Substitution: crushed graham crackers or toasted coconut also work.
1 wooden tray or cutting board, about 18 x 12 inches, lined with parchment
A clean, food-safe wooden board is your canvas. Buying tip: choose a board with a slight lip or rim so candies don't roll off.
Tips & Tricks
Chill Before You Build
Refrigerate wrapped chocolates for 10 minutes so they stay firm while you arrange the tray.
Use Small Bowls as Anchors
Place 2 to 3 small ramekins on the tray first, then build candy clusters around them to create instant structure.
Work in Color Zones
Group similar colors together, then add one contrasting pop per zone so the tray looks intentional, not chaotic.
Keep It Cool
If your room is above 75F (24C), set the finished tray over a bowl of ice or display it for no more than 1 hour to prevent chocolate bloom.
Pro Tips
Step-by-Step Instructions
1. Line and Anchor the Tray
Place a sheet of parchment paper on your wooden tray, pressing it flat so it doesn't curl. Set 2 to 3 small ramekins or bowls on the tray as your anchor points, spacing them 4 to 5 inches apart.
2. Build the Chocolate Zone
Arrange all chocolate candies in one corner or section around an anchor bowl, grouping dark and milk chocolates in alternating small piles. This creates a rich, heavy visual base that grounds the tray.
3. Add the Gummy Rainbow
Fill the opposite section with gummy candies, sorting by color into small clusters. Press them gently into a single layer so they don't roll when guests reach in.
4. Weave in Sour Belts
Drape cut sour belts and licorice twists between the chocolate and gummy zones like little bridges. This connects the sections and adds height and movement to the tray.
5. Place Hard Candies and Lollipops
Stand lollipops upright in the anchor bowls and tuck wrapped hard candies into any empty gaps. These act as edible decorations and keep the tray looking full.
6. Fill Gaps with Marshmallows
Press mini marshmallows into every small gap and stack jumbo marshmallows in a short pyramid in one corner. Marshmallows are your best gap-filler because they're soft and easy to nudge into place.
7. Finish with Yogurt and Berry Dust
Scatter yogurt-covered raisins and pretzels over the top for creamy contrast, then finish with a light dusting of crushed freeze-dried berries. The pink dust makes the whole tray look bakery-level fancy.
8. Chill and Serve
Slide the tray into the refrigerator uncovered for 10 minutes to firm everything up, then set it out at room temperature and serve within 1 hour for the best texture and appearance.
Delicious Variations
Holiday Candy Tray
Use red and green gummies, peppermint bark, and white chocolate pretzels for a Christmas-ready board.
Movie Night Tray
Add popcorn clusters, chocolate-covered raisins, and sour gummy cola bottles for a theater-style snack spread.
Tropical Candy Tray
Swap in dried mango, coconut chips, pineapple gummies, and white chocolate macadamia clusters for a vacation vibe.
How to Store The Ultimate Wooden Tray Candy Charcuterie Board
Refrigerator
Store the tray loosely covered with plastic wrap in the refrigerator for up to 3 days. Separate chocolates from gummies if possible so moisture doesn't make gummies sticky.
Freezer
Freezing is not recommended because gummies and marshmallows become hard and chalky once thawed. If you must, freeze only chocolate candies in an airtight bag for up to 2 months.
Reheating
No reheating needed. If chocolates bloom with a white film from temperature changes, they are still safe to eat and will taste fine.
Frequently Asked Questions
Q: How far in advance can I make a candy charcuterie board?
You can assemble the tray up to 24 hours ahead and store it covered in the refrigerator. Add delicate items like marshmallows and freeze-dried berries right before serving so they stay fresh and crisp.
Q: What candies work best on a wooden tray?
Individually wrapped chocolates, gummy candies, hard candies, and marshmallows work best because they hold their shape and don't melt quickly. Avoid unwrapped truffles or chocolate-covered fruit that sweats at room temperature.
Q: How do I keep chocolate from melting on the tray?
Chill the chocolates for 10 minutes before arranging and keep the tray in a room below 75F (24C). If your space is warm, nestle the tray over a larger bowl of ice or display it for no more than 1 hour.
Q: Can I make a candy tray for a kids' party with allergies?
Yes, just read labels carefully and create a separate nut-free or dairy-free section using clearly labeled candies. Use small signs or colored bowls to show which section is allergy-safe so parents and kids can choose confidently.
Q: How much candy do I need per person for a candy tray?
Plan for about 1/2 cup (roughly 3 ounces) of candy per person for a dessert-style tray. For a party where candy is the main treat, bump that to 3/4 cup per guest so the tray stays full through the event.
Grab your favorite wooden tray, hit the bulk candy aisle, and build a board that makes everyone smile. Snap a photo of your creation and tag me, I love seeing your color combos. What candy is going in the center of your tray? Small steps, big change.
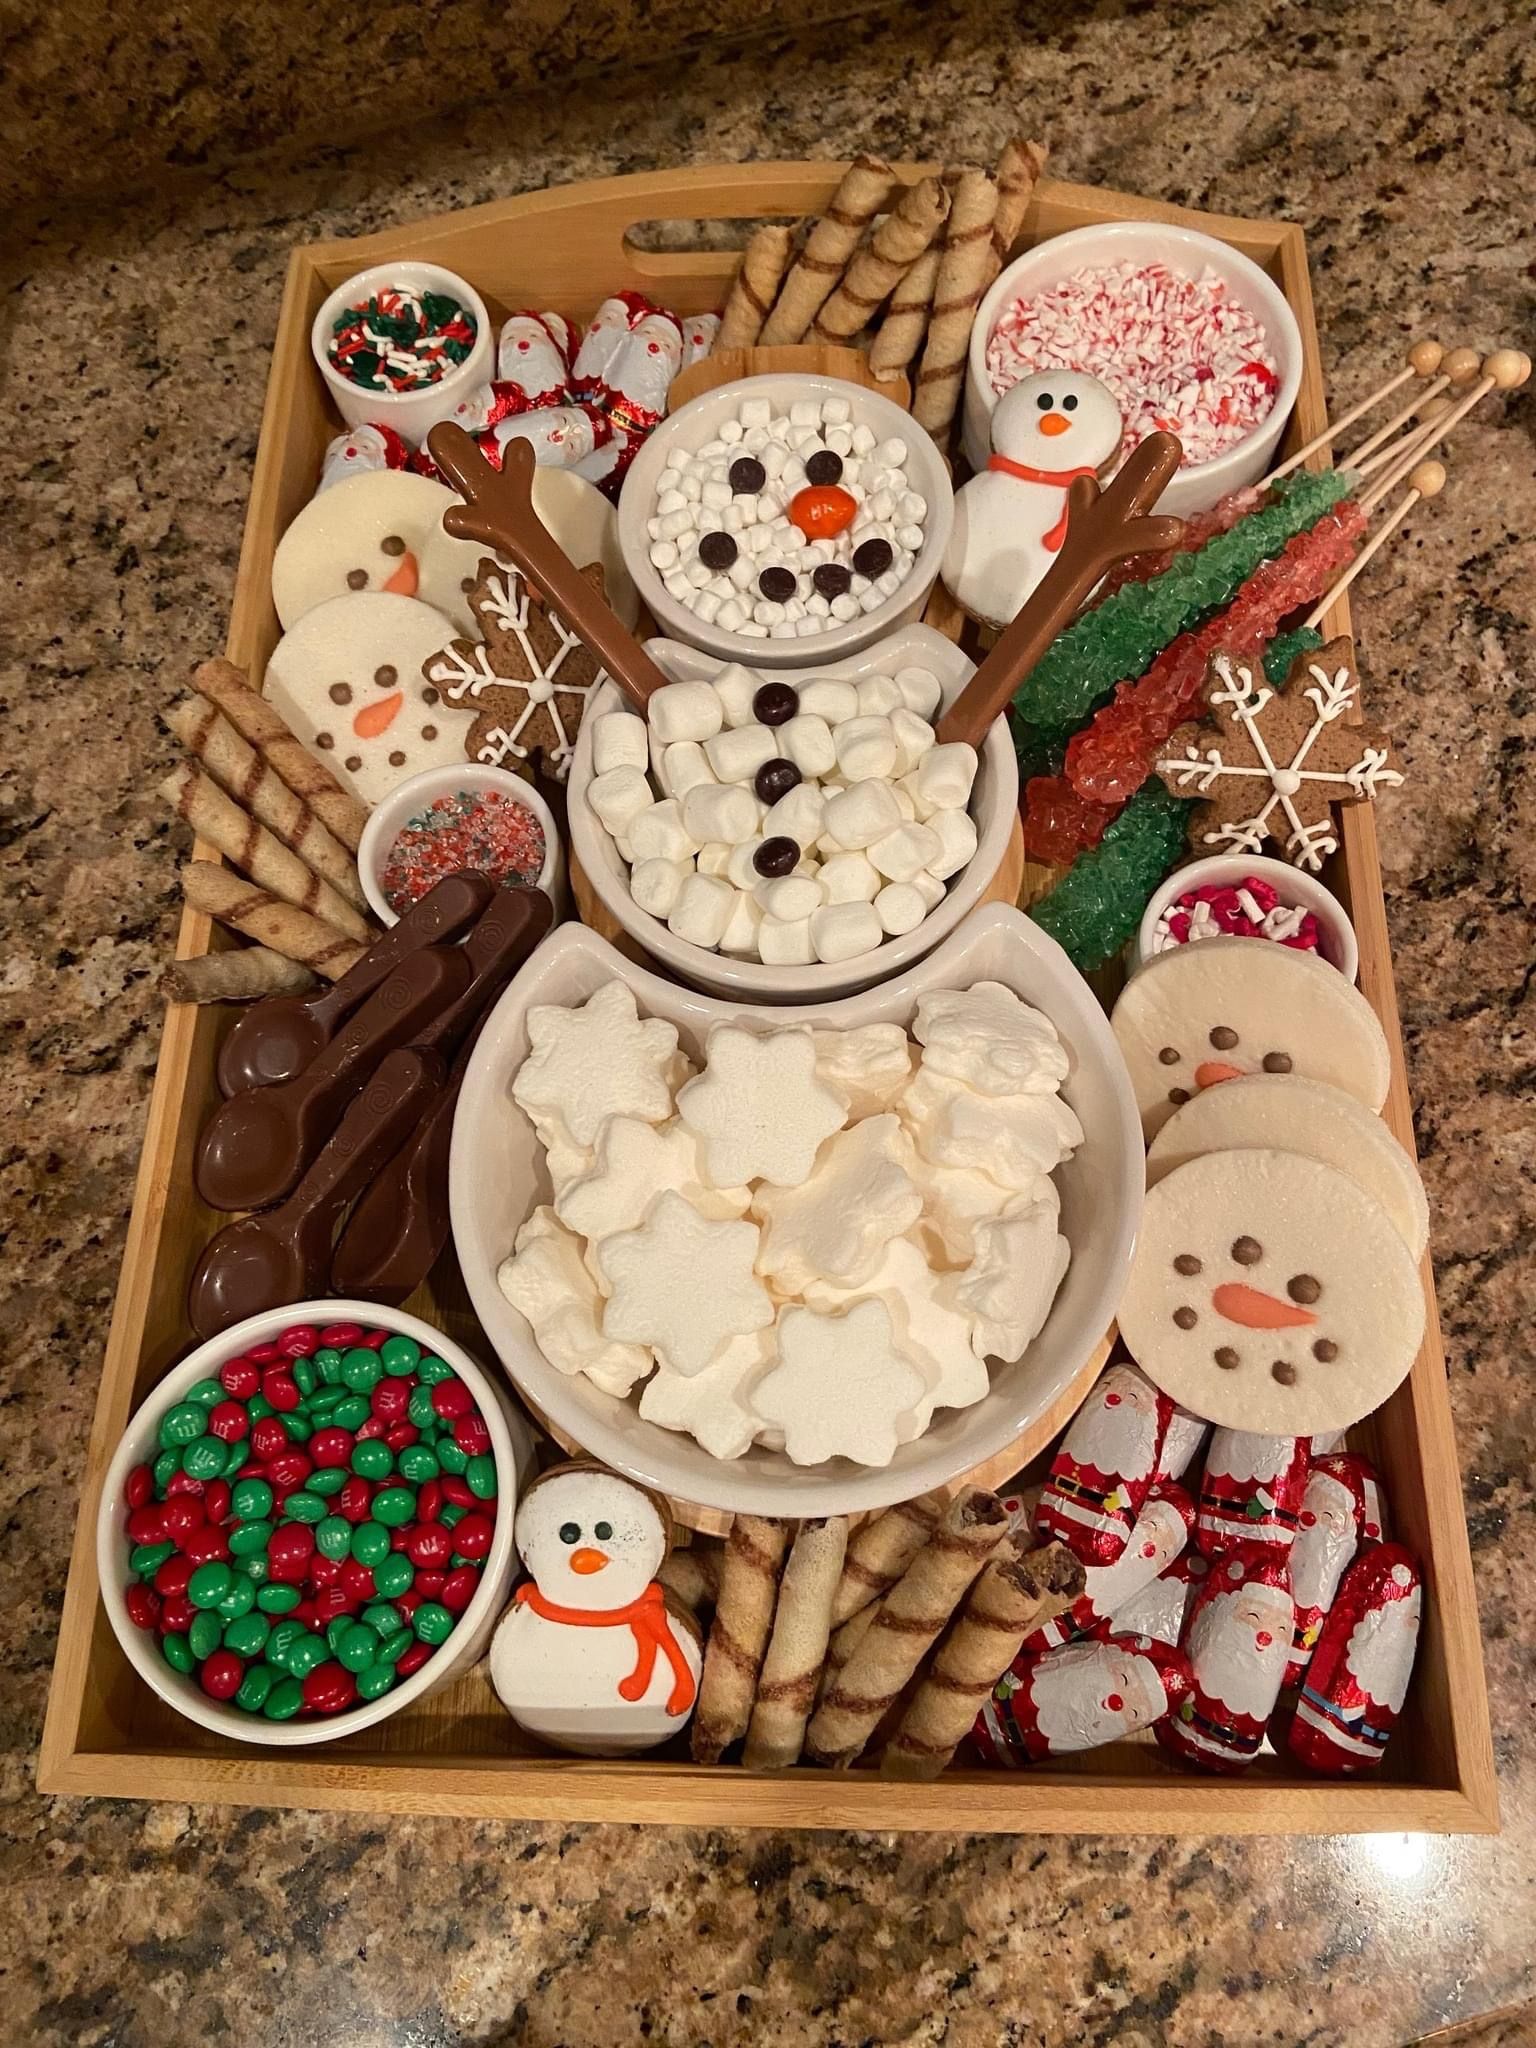
The Ultimate Wooden Tray Candy Charcuterie Board
The Ultimate Wooden Tray Candy Charcuterie Board is a colorful, no-bake party treat that turns assorted candies into a showstopping centerpiece in minutes.
🧂 Ingredients
- 3 cups (about 450g) assorted gummy candies (gummy bears, worms, rings)
- 2 cups (about 300g) chocolate candies (wrapped squares, chocolate-covered caramels, peanut butter cups)
- 1 1/2 cups (about 200g) sour belts and licorice twists, cut into 2-inch pieces
- 1 cup (about 150g) hard candies (lollipops, wrapped fruit drops, rock candy sticks)
- 1 cup (about 120g) marshmallows (mini and jumbo mixed)
- 1/2 cup (about 60g) yogurt-covered raisins or pretzels
- 1/4 cup (about 30g) crushed freeze-dried strawberries or raspberries
- 1 wooden tray or cutting board, about 18 x 12 inches, lined with parchment
📋 Instructions
- 1Line and Anchor the Tray — Place a sheet of parchment paper on your wooden tray, pressing it flat so it doesn't curl. Set 2 to 3 small ramekins or bowls on the tray as your anchor points, spacing them 4 to 5 inches apart.
- 2Build the Chocolate Zone — Arrange all chocolate candies in one corner or section around an anchor bowl, grouping dark and milk chocolates in alternating small piles. This creates a rich, heavy visual base that grounds the tray.
- 3Add the Gummy Rainbow — Fill the opposite section with gummy candies, sorting by color into small clusters. Press them gently into a single layer so they don't roll when guests reach in.
- 4Weave in Sour Belts — Drape cut sour belts and licorice twists between the chocolate and gummy zones like little bridges. This connects the sections and adds height and movement to the tray.
- 5Place Hard Candies and Lollipops — Stand lollipops upright in the anchor bowls and tuck wrapped hard candies into any empty gaps. These act as edible decorations and keep the tray looking full.
- 6Fill Gaps with Marshmallows — Press mini marshmallows into every small gap and stack jumbo marshmallows in a short pyramid in one corner. Marshmallows are your best gap-filler because they're soft and easy to nudge into place.
- 7Finish with Yogurt and Berry Dust — Scatter yogurt-covered raisins and pretzels over the top for creamy contrast, then finish with a light dusting of crushed freeze-dried berries. The pink dust makes the whole tray look bakery-level fancy.
- 8Chill and Serve — Slide the tray into the refrigerator uncovered for 10 minutes to firm everything up, then set it out at room temperature and serve within 1 hour for the best texture and appearance.

Maya writes about sustainable living and zero-waste practices, focusing on small, actionable changes for everyday life. She shares practical tips on reducing plastic, composting, and mindful consumption, drawn from her own experiments at home.