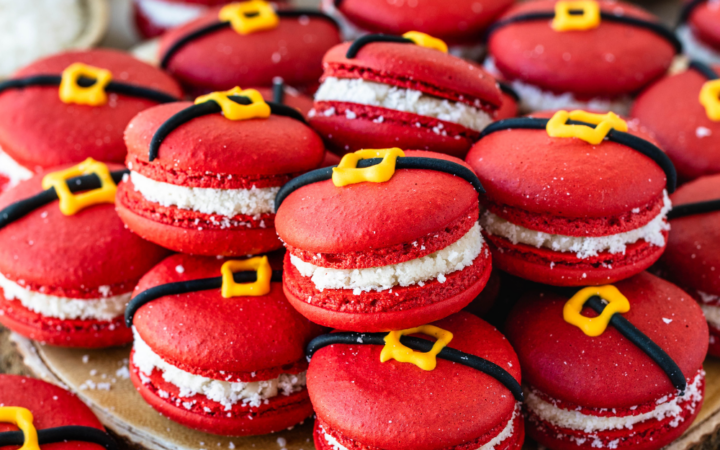
Every December, my grandmother pulled a battered white platter from the top shelf and set it in the middle of the table like a crown jewel. On it sat a deep chocolate cake, swirled with frosting, and crowned with tiny red-and-white Santa hats that made the children gasp before anyone even cut a slice. That platter was her signal that the holiday season had officially begun.
Advertisements1
I have carried that ritual across three continents, from Cairo kitchens scented with cardamom to snowy Vermont potlucks where neighbors begged for the recipe. The magic is not complicated: a tender chocolate cake, a silky frosting, and strawberry-and-cream Santa hats that take minutes to assemble but look like hours of work.
This is a cake for gathering. It travels well to parties, sits proudly on a white platter so the red hats pop, and tastes even better the day after you make it. Whether you are hosting a crowd or bringing dessert to someone else's table, this cake earns its place at the center.
Why You'll Love This Recipe
About the Ingredients
2 cups (250g) all-purpose flour
Spoon flour into the cup and level it off, or weigh it for accuracy. For a gluten-free version, substitute a 1-to-1 gluten-free baking blend plus 1/2 teaspoon xanthan gum.
3/4 cup (75g) Dutch-process cocoa powder
Dutch-process cocoa gives a darker color and smoother flavor than natural cocoa. If you only have natural cocoa, use it as-is; the baking soda will still activate it.
2 teaspoons baking soda
Check the date on your baking soda, since older soda loses lift. Buy a fresh box before holiday baking season.
1/2 teaspoon fine sea salt
Fine sea salt dissolves evenly into the batter. Table salt works in a pinch, but reduce it to 1/4 teaspoon.
2 cups (400g) granulated sugar
Standard white sugar keeps the crumb moist and tender. Coconut sugar can replace it, but the cake will be denser and darker.
2 large eggs, room temperature
Room-temperature eggs emulsify better and add volume. Submerge cold eggs in warm water for five minutes if you forgot to set them out.
1 cup (240ml) whole milk
Whole milk adds richness; 2% works fine. For a dairy-free cake, use oat milk or unsweetened almond milk.
1/2 cup (120ml) neutral oil, such as canola
Oil keeps the cake moist for days, unlike butter which firms up when chilled. Any neutral oil works, including grapeseed.
1 cup (240ml) hot brewed coffee
Hot coffee blooms the cocoa and deepens the chocolate flavor without tasting like coffee. Hot water works if you prefer, but the coffee is the secret.
1 cup (2 sticks / 226g) unsalted butter, softened, for frosting
Softened butter should dent easily when pressed. Salted butter works if you omit the added salt in the frosting.
4 cups (480g) powdered sugar, sifted, for frosting
Sift to avoid lumps in the frosting. If the frosting is too stiff, add milk one teaspoon at a time.
24 fresh strawberries and 1 cup (240ml) heavy whipping cream, for the Santa hats
Choose uniform, medium strawberries so the hats look tidy. Hull them flat so they sit level on the frosting.
Tips & Tricks
Measure Cocoa Carefully
Too much cocoa makes a dry, bitter cake; spoon and level it rather than scooping straight from the bag.
Cool Completely Before Frosting
Even slightly warm cake melts the frosting and makes the Santa hats slide. Wait at least two hours.
Whip Cream to Stiff Peaks
Soft peaks will droop off the strawberries within an hour. Whip until the beaters leave a firm trail.
Pro Tips
Step-by-Step Instructions
1. Heat Oven and Prep Pan
Preheat the oven to 350F (175C) and grease a 9×13-inch pan, lining the bottom with parchment. A properly prepped pan means the cake releases in one clean piece onto your platter.
2. Whisk Dry Ingredients
Whisk the flour, cocoa, baking soda, and salt in a large bowl until no cocoa streaks remain. Breaking up cocoa clumps now prevents bitter pockets later.
3. Combine Wet Ingredients
Whisk the sugar, eggs, milk, and oil in a second bowl until smooth and slightly pale, about one minute. The mixture should look glossy and uniform.
4. Add Coffee and Blend
Pour the hot coffee into the wet mixture and whisk gently, then fold in the dry ingredients until just combined. The batter will be thin and glossy, which is exactly right for a moist cake.
5. Bake Until Set
Pour the batter into the pan and bake at 350F (175C) for 32 to 38 minutes, until the center springs back and a toothpick comes out with moist crumbs. The edges will pull slightly away from the pan.
6. Cool the Cake
Let the cake cool in the pan for 15 minutes, then lift it by the parchment onto a wire rack to cool completely, about 1 hour. Frosting a warm cake is the fastest way to a melted mess.
7. Whip the Frosting
Beat the softened butter until creamy, then gradually add the sifted powdered sugar and a pinch of salt, beating until light and fluffy, about 3 minutes. Add a splash of milk if it looks stiff.
8. Frost and Decorate
Spread the frosting over the cooled cake in thick swirls, then arrange hulled strawberries cut-side down across the top. Pipe a small cream dollop on each strawberry and cap with a tiny strawberry tip to form the Santa hats.
9. Chill and Serve
Refrigerate the finished cake for 20 minutes to set the cream, then place it on a white platter and slice with a warm knife. The red hats against the white platter make the presentation unforgettable.
Delicious Variations
Peppermint Cocoa Cake
Add 1 teaspoon peppermint extract to the frosting and crush candy canes over the top for a cool holiday twist.
Red Velvet Santa Cake
Swap the cocoa for 1/4 cup cocoa plus red food gel to create a red velvet base that echoes the Santa hats.
Gluten-Free Chocolate Orange Cake
Use a 1-to-1 gluten-free blend and add 1 tablespoon orange zest to the batter for a bright, citrusy finish.
How to Store Chocolate Cake Topped with Frosting and Santa Hats on a White Platter
Refrigerator
Store frosted cake covered in the refrigerator for up to 4 days; let it sit at room temperature for 20 minutes before serving.
Freezer
Freeze unfrosted cake layers tightly wrapped for up to 2 months; thaw overnight in the refrigerator before frosting.
Reheating
This cake is best served at room temperature; a 10-second microwave pulse per slice softens it if chilled.
Frequently Asked Questions
Q: Can I make this chocolate cake ahead of time?
Yes, you can bake the cake up to two days ahead and frost it the day you serve. Wrap the cooled cake tightly in plastic wrap and store it at room temperature so it stays moist. Add the Santa hats within an hour of serving so the cream holds its shape.
Q: What can I use instead of strawberries for the Santa hats?
Raspberries or hulled cherry tomatoes work as stand-ins, though strawberries give the classic shape. You can also pipe red-tinted buttercream cones and top them with white cream for an allergy-friendly version. Any of these options still look festive on a white platter.
Q: Why did my chocolate cake turn out dry?
Overbaking and too much cocoa are the usual culprits, so pull the cake when the center springs back and a toothpick shows moist crumbs. Measuring flour by spooning and leveling, rather than scooping, also prevents a dry crumb. The hot coffee in this recipe helps keep the cake tender.
Q: How do I keep the Santa hats from sliding off?
Chill the frosted cake for 20 minutes before adding the strawberries, and pipe a small dot of frosting underneath each one as glue. Press gently and avoid moving the platter afterward. If your kitchen is warm, refrigerate the finished cake until just before serving.
Q: Can I use a different pan size for this recipe?
Yes, two 9-inch round pans work and bake in 25 to 30 minutes at 350F (175C). A bundt pan takes about 45 to 50 minutes, so check doneness with a toothpick. Adjust the frosting amount if you switch to a layered round cake.
Bake this chocolate cake topped with frosting and Santa hats on a white platter for your next holiday gathering, and watch the table go quiet for the first delicious minute. Share your version in the comments, tag me in your photos, and tell me whose face lit up first. Go, see, and connect.
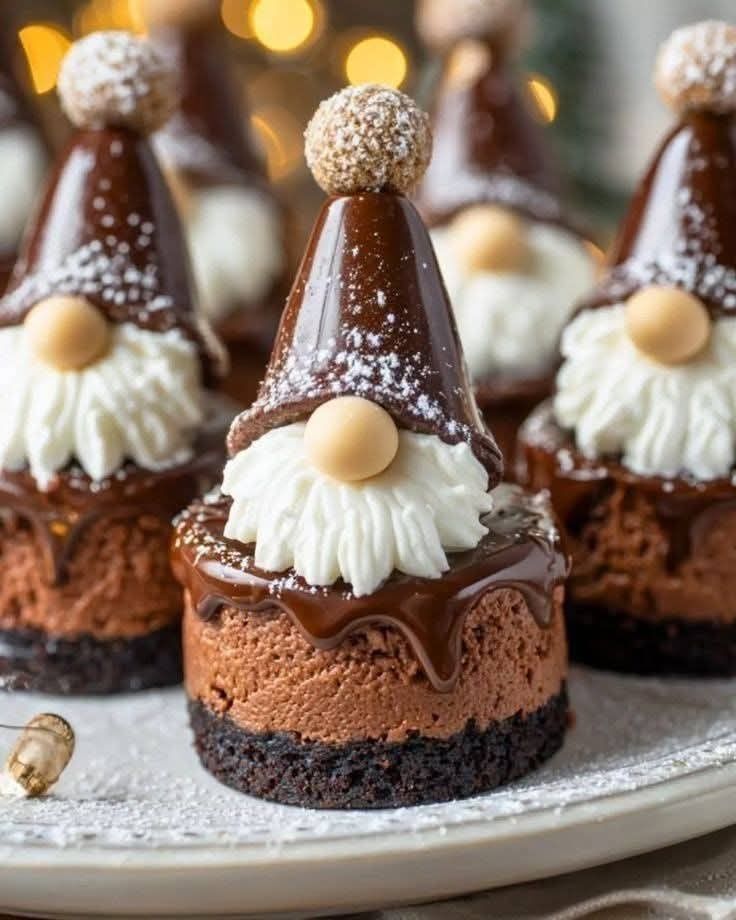
Chocolate Cake Topped with Frosting and Santa Hats on a White Platter
Chocolate cake topped with frosting and Santa hats on a white platter is the festive centerpiece that turns any holiday table into a celebration.
🧂 Ingredients
- 2 cups (250g) all-purpose flour
- 3/4 cup (75g) Dutch-process cocoa powder
- 2 teaspoons baking soda
- 1/2 teaspoon fine sea salt
- 2 cups (400g) granulated sugar
- 2 large eggs, room temperature
- 1 cup (240ml) whole milk
- 1/2 cup (120ml) neutral oil, such as canola
- 1 cup (240ml) hot brewed coffee
- 1 cup (2 sticks / 226g) unsalted butter, softened, for frosting
- 4 cups (480g) powdered sugar, sifted, for frosting
- 24 fresh strawberries and 1 cup (240ml) heavy whipping cream, for the Santa hats
📋 Instructions
- 1Heat Oven and Prep Pan — Preheat the oven to 350F (175C) and grease a 9×13-inch pan, lining the bottom with parchment. A properly prepped pan means the cake releases in one clean piece onto your platter.
- 2Whisk Dry Ingredients — Whisk the flour, cocoa, baking soda, and salt in a large bowl until no cocoa streaks remain. Breaking up cocoa clumps now prevents bitter pockets later.
- 3Combine Wet Ingredients — Whisk the sugar, eggs, milk, and oil in a second bowl until smooth and slightly pale, about one minute. The mixture should look glossy and uniform.
- 4Add Coffee and Blend — Pour the hot coffee into the wet mixture and whisk gently, then fold in the dry ingredients until just combined. The batter will be thin and glossy, which is exactly right for a moist cake.
- 5Bake Until Set — Pour the batter into the pan and bake at 350F (175C) for 32 to 38 minutes, until the center springs back and a toothpick comes out with moist crumbs. The edges will pull slightly away from the pan.
- 6Cool the Cake — Let the cake cool in the pan for 15 minutes, then lift it by the parchment onto a wire rack to cool completely, about 1 hour. Frosting a warm cake is the fastest way to a melted mess.
- 7Whip the Frosting — Beat the softened butter until creamy, then gradually add the sifted powdered sugar and a pinch of salt, beating until light and fluffy, about 3 minutes. Add a splash of milk if it looks stiff.
- 8Frost and Decorate — Spread the frosting over the cooled cake in thick swirls, then arrange hulled strawberries cut-side down across the top. Pipe a small cream dollop on each strawberry and cap with a tiny strawberry tip to form the Santa hats.
- 9Chill and Serve — Refrigerate the finished cake for 20 minutes to set the cream, then place it on a white platter and slice with a warm knife. The red hats against the white platter make the presentation unforgettable.

Aisha writes about travel and cultural immersion, sharing stories and tips from her journeys to off-the-beaten-path destinations. She emphasizes respectful tourism, budget-friendly adventures, and the importance of connecting with local communities.