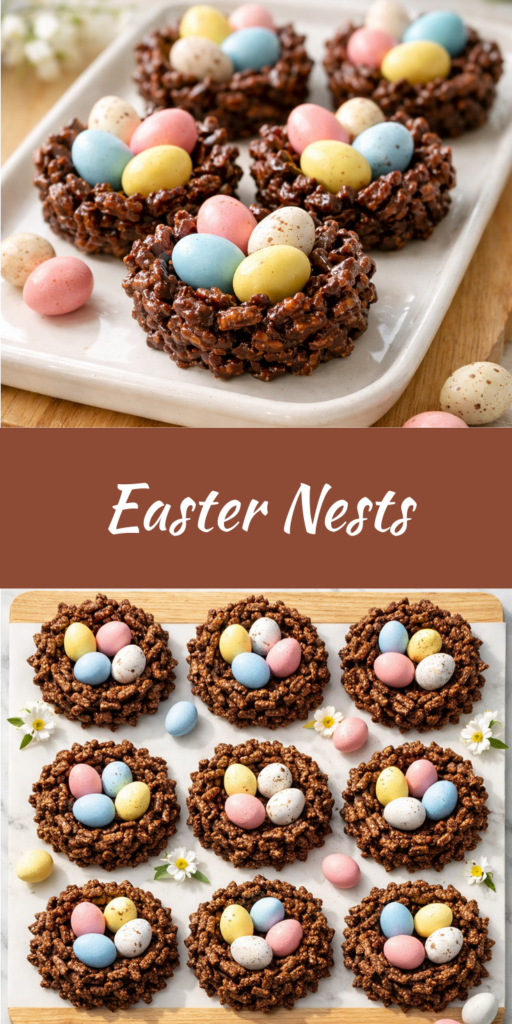
Every spring my kitchen turns into a tiny candy factory, and these Easter Nests are the first thing my kids beg me to make. They are chocolate, crunchy, chewy little bowls of joy that need zero oven time, which means even the youngest helper can jump in without me hovering over a hot stove.
Advertisements1
The magic is simple: melt chocolate with marshmallows and butter, fold in crispy chow mein noodles, then shape the mixture into little nests and tuck candy eggs inside. You get that perfect salty-sweet snap with a soft marshmallow chew, and they look like you spent hours on them.
I started making these years ago for our neighborhood egg hunt because they travel well and never melt into a puddle. Now they are a tradition, and honestly, the adults sneak just as many as the kids do.
Why You'll Love This Recipe
About the Ingredients
2 cups (about 170g) dry chow mein noodles
These give the signature crunchy twig look. If you cannot find them, use 2 cups of crushed cornflakes or 1 1/2 cups of dry chow mein-style rice noodles broken into short pieces.
2 cups (340g) semisweet chocolate chips
Semisweet keeps things balanced and not too sweet. Swap in dark chocolate chips for a less sugary nest, or chop two 4-ounce bars of good chocolate for a smoother melt.
3 cups (150g) mini marshmallows
Mini marshmallows melt fast and evenly. If you only have jumbo ones, cut them into quarters so they melt at the same speed as the chocolate.
3 tablespoons (42g) unsalted butter
Butter adds gloss and keeps the nests from turning chalky. Coconut oil works as a one-to-one swap if you need these dairy-free.
1/4 teaspoon fine sea salt
A pinch of salt wakes up the chocolate and balances the sweet. Kosher salt works too, just use a slightly heaping 1/4 teaspoon.
36 to 42 small candy-coated chocolate eggs
You need 3 eggs per nest for a full look. If you cannot find them, use jelly beans, robin eggs, or even whole almonds for a nutty version.
1/2 cup (60g) shredded coconut, optional
Toasted coconut pressed into the base looks like real nest straw. Sweetened or unsweetened both work, so use whatever is in your pantry.
1 teaspoon vanilla extract, optional
A splash of vanilla rounds out the chocolate flavor. Almond extract is a lovely swap if you want a subtle nutty note.
Tips & Tricks
Do not overheat the chocolate
Melt in short bursts and stir until smooth, because scorched chocolate turns grainy and no amount of stirring will fix it.
Work while the mixture is warm
If it cools too much, the nests crack instead of holding together, so shape them right after mixing and pop the bowl back over warm water if needed.
Press the eggs in gently
Push the candy eggs in while the chocolate is still tacky so they stick, but do not shove them all the way through the bottom.
Chill before moving
Let the nests set in the fridge for at least 20 minutes before lifting them, or they will slump and lose their shape.
Pro Tips
Step-by-Step Instructions
1. Prep Your Pan
Line a 12-cup muffin tin with paper liners and set it near your workspace so the nests have a home the second they are shaped.
2. Melt the Base
In a large microwave-safe bowl, combine the chocolate chips, mini marshmallows, butter, and salt. Microwave in 30-second bursts, stirring between each, for about 90 seconds to 2 minutes total, until the mixture is glossy and smooth with no lumps. If you prefer the stove, melt everything in a heatproof bowl set over barely simmering water at 180F (82C) for 4 to 5 minutes, stirring until silky.
3. Stir in the Crunch
Fold in the chow mein noodles and vanilla until every piece is coated in chocolate. The mixture should look glossy and hold together when you squeeze a spoonful.
4. Shape the Nests
Drop about 1/4 cup of the mixture into each paper liner. Press the center down with the back of a spoon or your thumb to make a well, building up the sides so it looks like a little bird nest.
5. Add the Eggs
While the chocolate is still tacky, press 3 candy eggs into each nest. Work quickly here, because once the chocolate sets the eggs will not stick.
6. Chill and Set
Refrigerate the tray for 20 to 30 minutes, until the nests feel firm and lift easily out of the liners. The chocolate should look matte and hold its shape with no give.
7. Finish and Serve
If using coconut, sprinkle it around the base of each nest for a straw look, then arrange the nests on a platter and serve at room temperature.
Delicious Variations
Peanut Butter Nests
Stir 1/3 cup creamy peanut butter into the melted chocolate before adding the noodles for a richer, nutty twist.
White Chocolate Spring Nests
Use white chocolate chips and swap the coconut for pastel sprinkles, then top with pink and yellow candy eggs.
S'mores Nests
Replace half the chow mein noodles with crushed graham crackers and mini marshmallows for a campfire flavor.
How to Store Easter Nests – Easy Chocolate No-Bake Easter Treats
Refrigerator
Store in an airtight container in the fridge for up to 2 weeks, layered with parchment so the nests do not stick together.
Freezer
Freeze in a single layer for 1 hour, then transfer to a freezer bag and keep for up to 2 months. Thaw in the fridge overnight.
Reheating
No reheating needed, but if the chocolate blooms or softens, chill for 10 minutes to firm it back up before serving.
Frequently Asked Questions
Q: Can kids help make Easter Nests?
Absolutely, kids can stir the noodles and press in the candy eggs with clean hands. Just handle the melted chocolate and the microwave yourself since it gets hot.
I would love to see your little nests! Make a batch this week, snap a photo, and tag me so I can cheer you on. Small steps, big change.
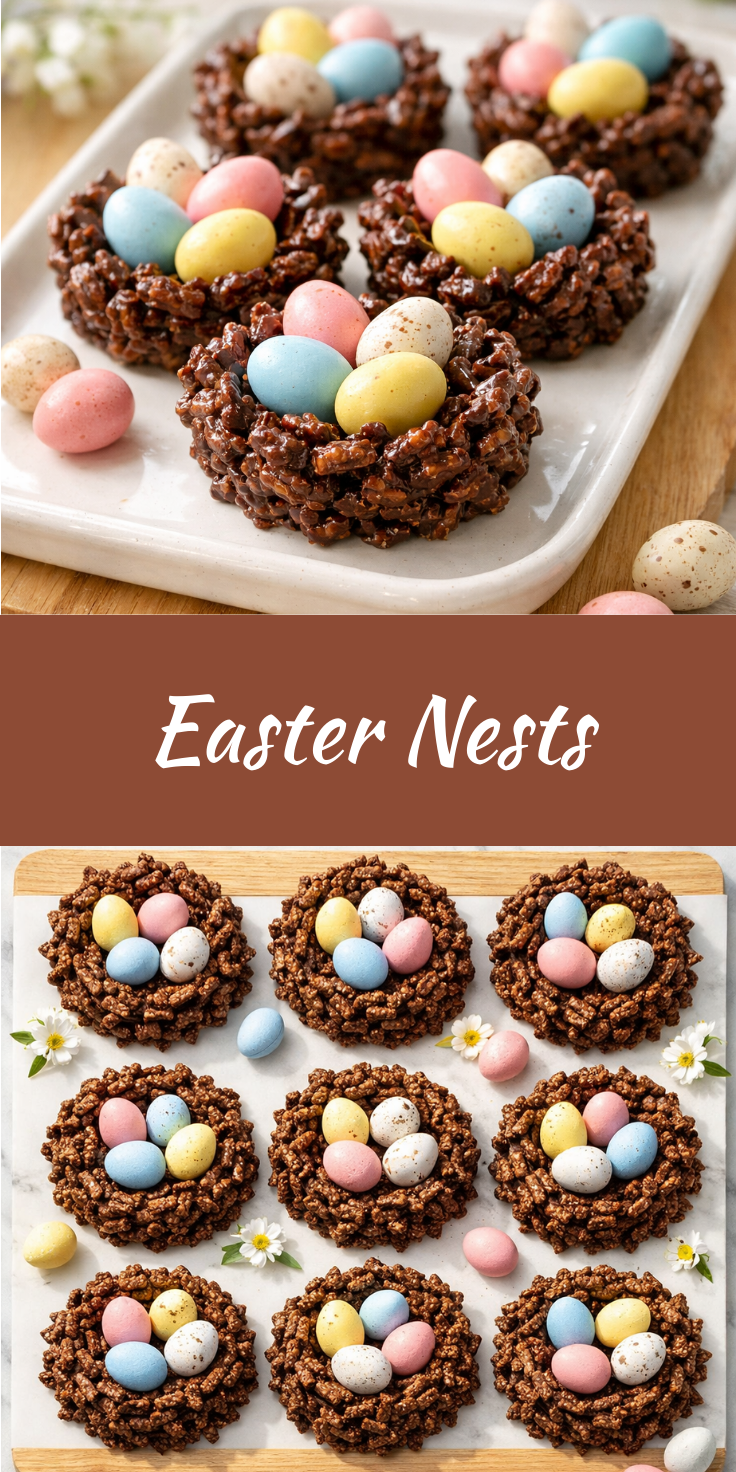
Easter Nests – Easy Chocolate No-Bake Easter Treats
Easter Nests are easy no-bake chocolate treats made with crispy chow mein noodles, gooey marshmallows, and candy eggs ready in 50 minutes.
🧂 Ingredients
- 2 cups (about 170g) dry chow mein noodles
- 2 cups (340g) semisweet chocolate chips
- 3 cups (150g) mini marshmallows
- 3 tablespoons (42g) unsalted butter
- 1/4 teaspoon fine sea salt
- 36 to 42 small candy-coated chocolate eggs
- 1/2 cup (60g) shredded coconut, optional
- 1 teaspoon vanilla extract, optional
📋 Instructions
- 1Prep Your Pan — Line a 12-cup muffin tin with paper liners and set it near your workspace so the nests have a home the second they are shaped.
- 2Melt the Base — In a large microwave-safe bowl, combine the chocolate chips, mini marshmallows, butter, and salt. Microwave in 30-second bursts, stirring between each, for about 90 seconds to 2 minutes total, until the mixture is glossy and smooth with no lumps. If you prefer the stove, melt everything in a heatproof bowl set over barely simmering water at 180F (82C) for 4 to 5 minutes, stirring until silky.
- 3Stir in the Crunch — Fold in the chow mein noodles and vanilla until every piece is coated in chocolate. The mixture should look glossy and hold together when you squeeze a spoonful.
- 4Shape the Nests — Drop about 1/4 cup of the mixture into each paper liner. Press the center down with the back of a spoon or your thumb to make a well, building up the sides so it looks like a little bird nest.
- 5Add the Eggs — While the chocolate is still tacky, press 3 candy eggs into each nest. Work quickly here, because once the chocolate sets the eggs will not stick.
- 6Chill and Set — Refrigerate the tray for 20 to 30 minutes, until the nests feel firm and lift easily out of the liners. The chocolate should look matte and hold its shape with no give.
- 7Finish and Serve — If using coconut, sprinkle it around the base of each nest for a straw look, then arrange the nests on a platter and serve at room temperature.

Maya writes about sustainable living and zero-waste practices, focusing on small, actionable changes for everyday life. She shares practical tips on reducing plastic, composting, and mindful consumption, drawn from her own experiments at home.