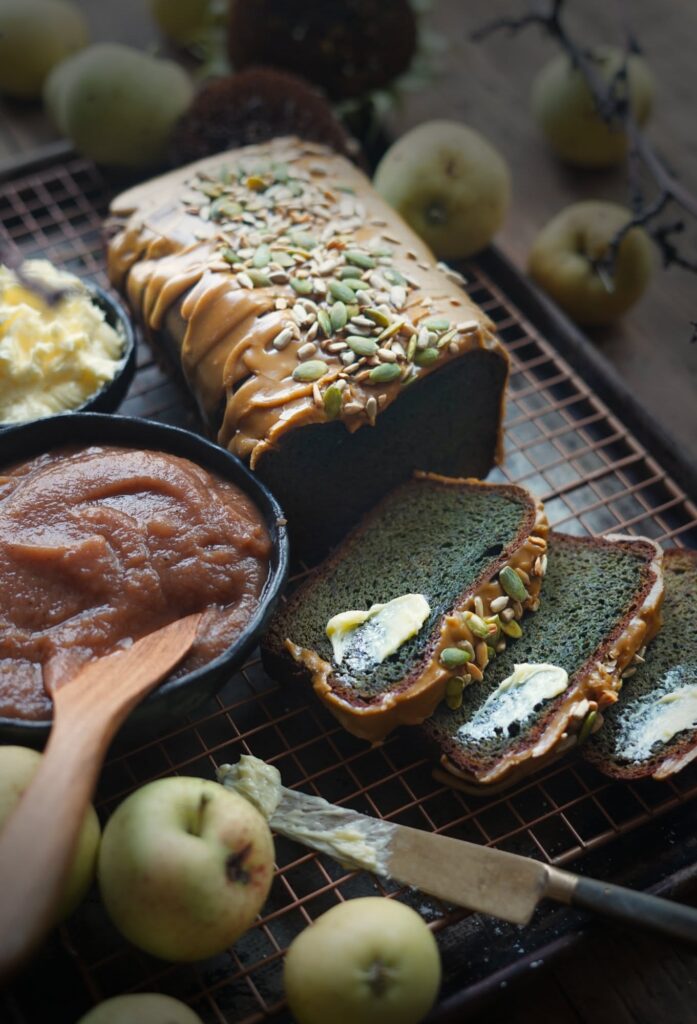
There are some recipes that feel like pure alchemy—a handful of humble ingredients, a bit of patience, and suddenly you’re pulling a golden, crackling loaf from your oven that smells like a Moroccan souk bakery. This Magical Bread is exactly that: a no-knead wonder that requires almost no work but delivers a crust so shattery and an interior so airy, you’ll swear you bought it from a artisan baker.
Advertisements1
I first stumbled upon this method while traveling through the Atlas Mountains, where a Berber woman showed me how a simple dough, left to rest overnight, could become the most soulful bread she’d serve with olive oil and honey. That memory stayed with me, and I’ve adapted it for home ovens with a Dutch oven trick that traps steam and creates that blistered, glossy crust.
This recipe is for everyone who has ever been intimidated by bread-making. No kneading, no stand mixer, no special skills—just a bowl, a spoon, and time. It’s the bread that makes you look like a magician, even on a Tuesday night.
Why You'll Love This Recipe
About the Ingredients
3 cups (375g) all-purpose flour
Regular all-purpose works great; bread flour gives a chewier crumb. If using whole wheat, substitute 1 cup (120g) for a heartier loaf.
1 1/2 teaspoons (9g) fine sea salt
Table salt is fine, but reduce to 1 teaspoon if using fine table salt to avoid over-salting.
1/2 teaspoon (2g) active dry yeast
Instant yeast also works; just mix it directly with the dry ingredients. If using fresh yeast, double the amount.
1 1/2 cups (355ml) lukewarm water (about 100°F/38°C)
If water is too hot, it will kill the yeast; if too cold, the rise will be slow. Use filtered water if your tap is heavily chlorinated.
1 tablespoon (15ml) honey or maple syrup
Adds a hint of sweetness and helps browning. You can omit for a more savory loaf.
Extra flour for dusting
Use rice flour or all-purpose for dusting the work surface and proofing basket; rice flour doesn't stick as much.
Tips & Tricks
Timing is flexible
The dough can rest between 12 and 18 hours. Shorter rest yields a milder flavor; longer yields a tangier, more complex bread.
Don't skip the preheating
A screaming-hot Dutch oven (450°F/230°C) is key to that oven spring and crispy crust. Preheat it for at least 30 minutes.
Let it cool completely before slicing
The crumb continues to set as it cools. Cutting too early will result in a gummy interior.
- If your dough is too sticky to handle, lightly oil your hands or dust with flour—don't add extra flour to the dough itself.
Pro Tips
Step-by-Step Instructions
1. Mix the Dough
In a large bowl, whisk together the flour, salt, and yeast. Add the honey and lukewarm water, and stir with a wooden spoon until a shaggy dough forms. It will be sticky—that's perfect.
2. First Rise
Cover the bowl with plastic wrap or a damp cloth and let rest at room temperature (about 70°F/21°C) for 12-18 hours. The dough should double in volume, with bubbles on the surface.
3. Shape the Loaf
Turn the dough out onto a heavily floured surface. Gently fold it over itself a few times to form a ball, being careful not to deflate it too much. Let it rest for 15 minutes.
4. Proof the Dough
Place the dough seam-side down on a piece of parchment paper. Cover with a towel and let rise for 2 hours, until puffy and nearly doubled.
5. Preheat the Oven
About 30 minutes before baking, place a Dutch oven (with lid) inside the oven and preheat to 450°F (230°C). This ensures a ripping-hot pot for maximum crust.
6. Bake Covered
Carefully remove the hot Dutch oven. Using the parchment, lift the dough and drop it into the pot, seam-side up. Cover and bake at 450°F (230°C) for 30 minutes.
7. Bake Uncovered
Remove the lid and continue baking for 10-15 minutes, until the crust is deep golden brown and the internal temperature reaches 205-210°F (96-99°C). If you tap the bottom, it should sound hollow.
8. Cool Completely
Transfer the bread to a wire rack and let cool for at least 1 hour before slicing. This step is crucial for a tender crumb.
Delicious Variations
- Add 1 cup (100g) of shredded cheddar and 1/2 cup (75g) of chopped jalapeños to the dough for a cheesy, spicy kick.
- Fold in 1/2 cup (50g) of chopped olives and 1 tablespoon of fresh rosemary for a Mediterranean twist.
- Swap the honey for molasses and add 1 teaspoon of ground cinnamon for a subtly sweet, spiced loaf.
How to Store Magical Bread
Refrigerator
Store in a paper bag or wrapped in a kitchen towel for up to 3 days at room temperature. Do not refrigerate, as it will dry out faster.
Freezer
Slice and freeze in a zip-top bag for up to 3 months. Thaw at room temperature or toast directly from frozen.
Reheating
Revive a day-old loaf by warming it in a 350°F (175°C) oven for 5-10 minutes, or toast slices for a crispy texture.
Frequently Asked Questions
Q: Why is my bread dough so sticky?
Sticky dough is normal for no-knead bread because of the high hydration. Avoid adding extra flour; instead, use wet hands and a well-floured surface when handling.
Q: Can I use instant yeast instead of active dry?
Yes, instant yeast can be used in the same amount. Mix it directly with the dry ingredients and proceed with the recipe; no need to proof it in water first.
Q: How do I know when the bread is fully baked?
The internal temperature should read 205-210°F (96-99°C) on an instant-read thermometer, and the crust should be deep golden brown. Tapping the bottom should produce a hollow sound.
Q: Can I make this bread without a Dutch oven?
Yes, you can bake it on a pizza stone or baking sheet. Place a pan of boiling water on the lower rack to create steam, and bake at 450°F (230°C) for 25-30 minutes, then reduce to 425°F (220°C) for 15-20 minutes more.
Q: What if I don't let it rest for 12 hours?
The dough needs at least 8 hours to develop flavor and structure. If you rest it for only 4-6 hours, the bread will be denser and less flavorful. For best results, aim for the full 12-18 hours.
I hope this Magical Bread brings the same warmth and wonder to your table as it does to mine. Try it once, and you'll never buy store-bought again. Happy baking, and remember: go, see, and connect—one loaf at a time.
Magical Bread
Magical Bread is a crusty, soft-centered no-knead loaf that transforms your kitchen into a cozy bakery with minimal effort.
🧂 Ingredients
- 3 cups (375g) all-purpose flour
- 1 1/2 teaspoons (9g) fine sea salt
- 1/2 teaspoon (2g) active dry yeast
- 1 1/2 cups (355ml) lukewarm water (about 100°F/38°C)
- 1 tablespoon (15ml) honey or maple syrup
- Extra flour for dusting
📋 Instructions
- 1Mix the Dough — In a large bowl, whisk together the flour, salt, and yeast. Add the honey and lukewarm water, and stir with a wooden spoon until a shaggy dough forms. It will be sticky—that's perfect.
- 2First Rise — Cover the bowl with plastic wrap or a damp cloth and let rest at room temperature (about 70°F/21°C) for 12-18 hours. The dough should double in volume, with bubbles on the surface.
- 3Shape the Loaf — Turn the dough out onto a heavily floured surface. Gently fold it over itself a few times to form a ball, being careful not to deflate it too much. Let it rest for 15 minutes.
- 4Proof the Dough — Place the dough seam-side down on a piece of parchment paper. Cover with a towel and let rise for 2 hours, until puffy and nearly doubled.
- 5Preheat the Oven — About 30 minutes before baking, place a Dutch oven (with lid) inside the oven and preheat to 450°F (230°C). This ensures a ripping-hot pot for maximum crust.
- 6Bake Covered — Carefully remove the hot Dutch oven. Using the parchment, lift the dough and drop it into the pot, seam-side up. Cover and bake at 450°F (230°C) for 30 minutes.
- 7Bake Uncovered — Remove the lid and continue baking for 10-15 minutes, until the crust is deep golden brown and the internal temperature reaches 205-210°F (96-99°C). If you tap the bottom, it should sound hollow.
- 8Cool Completely — Transfer the bread to a wire rack and let cool for at least 1 hour before slicing. This step is crucial for a tender crumb.

Aisha writes about travel and cultural immersion, sharing stories and tips from her journeys to off-the-beaten-path destinations. She emphasizes respectful tourism, budget-friendly adventures, and the importance of connecting with local communities.