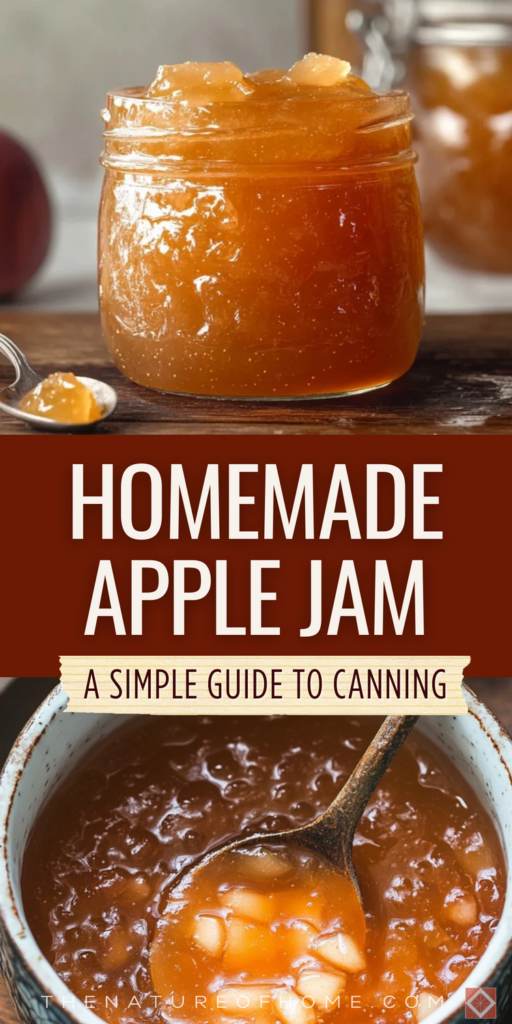
My grandmother always had a jar of apple preserves on her counter, and I can still remember the sweet, cinnamon scent that filled her kitchen. When I started making my own, I realized it wasn't just about the taste—it was about slowing down and savoring a simple moment.
Advertisements1
This Homemade Apple Preserves recipe is my go-to for fall, but honestly, it's wonderful any time of year. With just a handful of ingredients and about 45 minutes, you can capture that cozy, homemade goodness in a jar. No pectin, no complicated canning process—just pure apple flavor with a hint of lemon and spice.
Whether you're spreading it on warm biscuits, swirling it into yogurt, or gifting it to friends, these preserves are a labor of love that's surprisingly easy to pull off.
Why You'll Love This Recipe
About the Ingredients
3 lbs (1.4 kg) mixed apples, such as Honeycrisp and Granny Smith
A mix of sweet and tart apples gives the best flavor. You can use all one type, but adjust sugar to taste. Honeycrisp adds sweetness, Granny Smith adds tartness and holds its shape.
2 cups (400g) granulated sugar
Regular white sugar works best. You can reduce to 1.5 cups for a tarter preserve, or use a sugar substitute like honey or maple syrup, but note that the texture and setting may differ.
1 lemon, juiced (about 2 tablespoons)
Fresh lemon juice brightens the flavor and helps preserve the color. Bottled lemon juice works in a pinch, but fresh tastes better.
1 teaspoon ground cinnamon
Cinnamon adds warmth. Feel free to use a cinnamon stick instead (remove before jarring) or add a pinch of nutmeg or cloves for extra spice.
1/4 teaspoon salt
Just a pinch enhances the sweetness and balances flavors. Omit if you prefer.
Tips & Tricks
- Peel the apples if you prefer a smoother preserve; leaving the skins on adds texture and more pectin, but can make it slightly chunky.
- Use a heavy-bottomed pot to prevent scorching. Stir frequently, especially as the mixture thickens.
- To test for doneness, place a small spoonful on a chilled plate and run your finger through it. If it holds its shape, it's ready.
- If you're canning, sterilize your jars and lids, and process in a boiling water bath for 10 minutes to ensure a good seal.
Pro Tips
Step-by-Step Instructions
1. Prep the apples
Peel, core, and chop the apples into 1-inch chunks. You should have about 8 cups. Toss with lemon juice to prevent browning.
2. Cook the apples
In a large pot, combine apples, sugar, cinnamon, and salt. Cook over medium heat (350°F/175°C) until the sugar dissolves and the mixture starts bubbling, about 10 minutes. Stir occasionally.
3. Simmer and soften
Reduce heat to medium-low (300°F/150°C) and simmer, stirring often, until the apples are tender and the liquid has reduced, about 20 minutes. The apples should be soft but not mushy.
4. Check the thickness
Continue cooking until the mixture thickens to a jam-like consistency. To test, place a spoonful on a cold plate and tilt it; if it wrinkles when pushed, it's ready. This may take another 5-10 minutes.
5. Mash slightly (optional)
If you prefer a smoother preserve, use a potato masher to break up some of the apple chunks. Leave some texture for rustic charm.
6. Ladle into jars
Carefully ladle the hot preserves into sterilized jars, leaving 1/4-inch headspace. Wipe rims, seal with lids, and process in a boiling water bath for 10 minutes if canning, or let cool and refrigerate.
7. Cool and store
Let the jars cool completely at room temperature. Check that lids have sealed by pressing the center; it should not pop. Store in a cool, dark place for up to a year, or refrigerate for up to 3 months.
Delicious Variations
Spiced Apple Preserves
Add 1/2 teaspoon ground ginger and 1/4 teaspoon nutmeg with the cinnamon for a warmer spice profile.
Vanilla Bean Apple Preserves
Split a vanilla bean and scrape the seeds into the pot, adding the pod for extra flavor. Remove the pod before jarring.
Low-Sugar Apple Preserves
Use 1 cup of sugar or a sugar substitute like erythritol, and add 1 tablespoon of lemon juice to help with gelling.
How to Store Homemade Apple Preserves
Refrigerator
Once opened, store in the refrigerator for up to 3 months. Always use a clean spoon to prevent contamination.
Freezer
You can freeze the preserves in airtight containers for up to 6 months. Thaw in the refrigerator overnight before use.
Reheating
To reheat, microwave in a bowl for 30 seconds or warm in a saucepan over low heat, stirring occasionally.
Frequently Asked Questions
Q: Do I need to use pectin for apple preserves?
No, apples naturally contain enough pectin to thicken the preserves. Cooking the mixture down will achieve the right consistency without any added pectin.
Q: Can I use any type of apple?
Yes, but a mix of sweet and tart apples like Honeycrisp and Granny Smith works best. Softer apples like Red Delicious break down more, while firm apples like Fuji hold their shape better.
Q: How long do homemade apple preserves last?
When properly canned, they last up to a year in a cool, dark place. Once opened, refrigerate and use within 3 months.
Q: Can I reduce the sugar in this recipe?
Yes, you can reduce the sugar to 1.5 cups or use a sugar substitute, but keep in mind that the texture may be softer and the shelf life shorter. You may also need to cook longer to thicken.
Q: What can I use apple preserves for besides toast?
Apple preserves are great as a topping for pancakes, yogurt, or ice cream, and can be used as a filling for pastries, thumbprint cookies, or as a glaze for pork or chicken.
I hope you enjoy making these Homemade Apple Preserves as much as I do. What's your favorite way to use preserves? Share in the comments below!
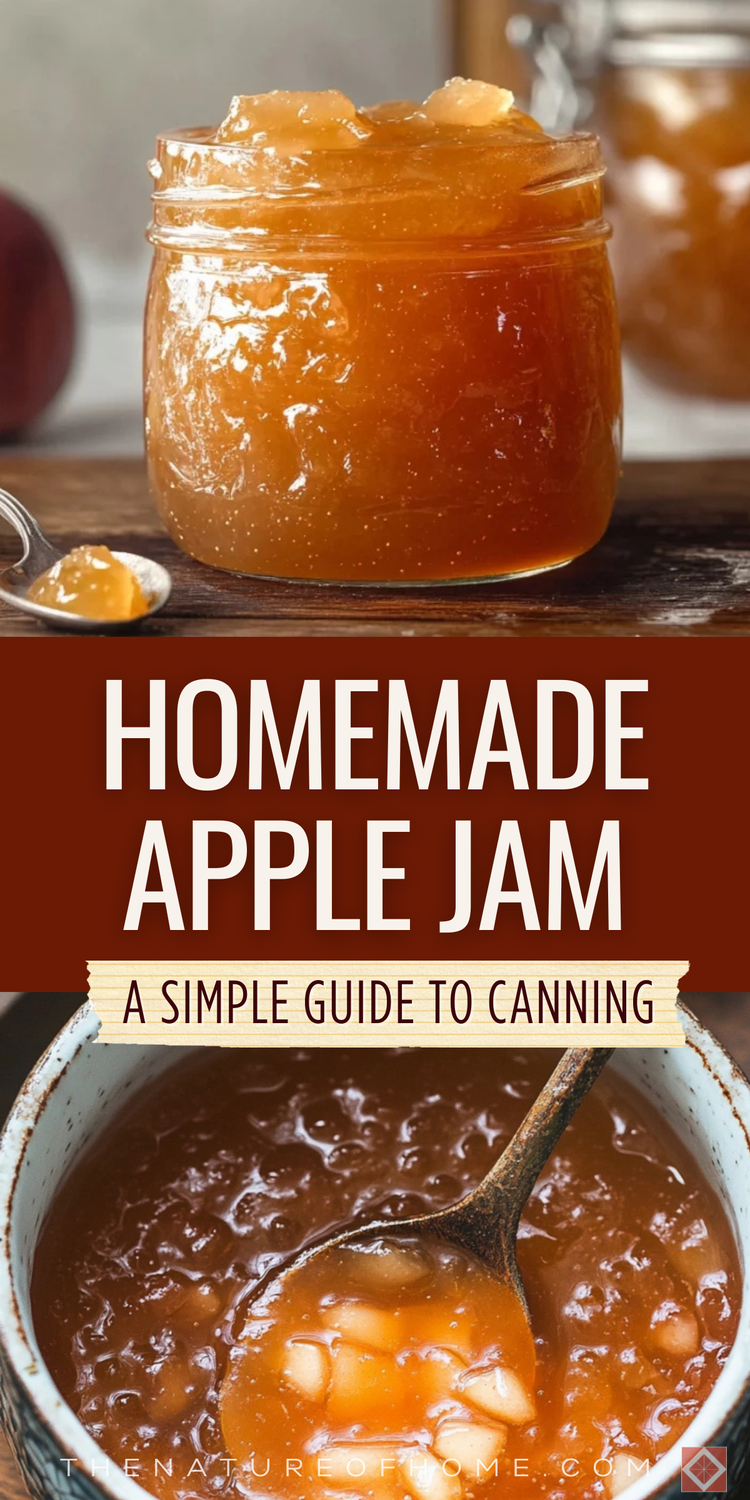
Homemade Apple Preserves
Make your own Homemade Apple Preserves with just 5 ingredients in 45 minutes. Perfect for toast, yogurt, and gifts!
🧂 Ingredients
- 3 lbs (1.4 kg) mixed apples, such as Honeycrisp and Granny Smith
- 2 cups (400g) granulated sugar
- 1 lemon, juiced (about 2 tablespoons)
- 1 teaspoon ground cinnamon
- 1/4 teaspoon salt
📋 Instructions
- 1Prep the apples — Peel, core, and chop the apples into 1-inch chunks. You should have about 8 cups. Toss with lemon juice to prevent browning.
- 2Cook the apples — In a large pot, combine apples, sugar, cinnamon, and salt. Cook over medium heat (350°F/175°C) until the sugar dissolves and the mixture starts bubbling, about 10 minutes. Stir occasionally.
- 3Simmer and soften — Reduce heat to medium-low (300°F/150°C) and simmer, stirring often, until the apples are tender and the liquid has reduced, about 20 minutes. The apples should be soft but not mushy.
- 4Check the thickness — Continue cooking until the mixture thickens to a jam-like consistency. To test, place a spoonful on a cold plate and tilt it; if it wrinkles when pushed, it's ready. This may take another 5-10 minutes.
- 5Mash slightly (optional) — If you prefer a smoother preserve, use a potato masher to break up some of the apple chunks. Leave some texture for rustic charm.
- 6Ladle into jars — Carefully ladle the hot preserves into sterilized jars, leaving 1/4-inch headspace. Wipe rims, seal with lids, and process in a boiling water bath for 10 minutes if canning, or let cool and refrigerate.
- 7Cool and store — Let the jars cool completely at room temperature. Check that lids have sealed by pressing the center; it should not pop. Store in a cool, dark place for up to a year, or refrigerate for up to 3 months.

Maya writes about sustainable living and zero-waste practices, focusing on small, actionable changes for everyday life. She shares practical tips on reducing plastic, composting, and mindful consumption, drawn from her own experiments at home.