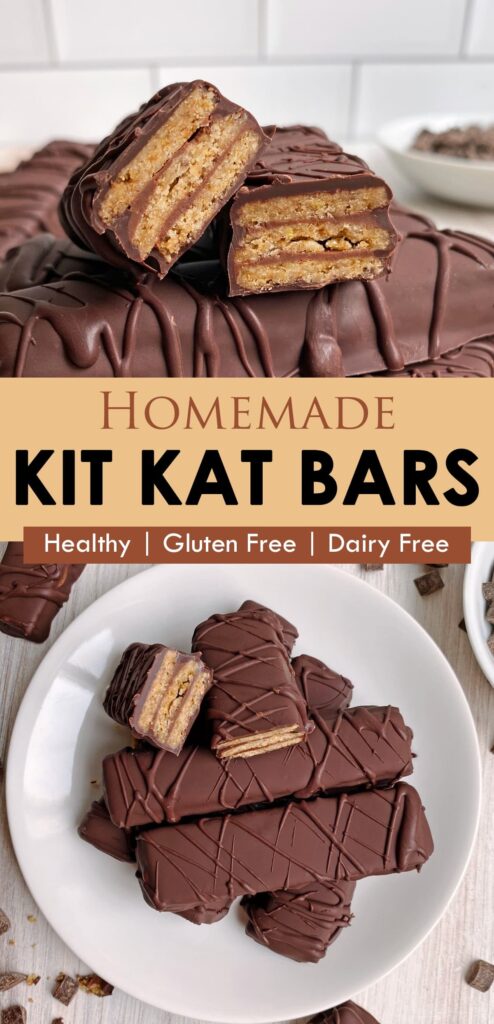
I remember the first time I realized I couldn't eat a Kit Kat. It was at a movie theater, and the person next to me was happily snapping off squares of that iconic wafer. I felt a little pang of 'why me?' But then I thought, why not make my own?
Advertisements1
This Dairy Free Kit Kat recipe is my answer to that craving. It's shockingly simple—just a few ingredients, a little patience, and you get those same crisp layers and creamy chocolate, completely free of dairy. My kids now ask for these over the store-bought ones, and I don't blame them.
So whether you're vegan, lactose-intolerant, or just curious, these homemade bars are about to become your new favorite treat. Let's get snapping!
Why You'll Love This Recipe
About the Ingredients
1 cup (120g) dairy-free wafer cookies (like Pirouline or generic wafer rolls)
Any crisp wafer cookie works. If you can't find rolls, use flat wafer sheets and cut to size.
1/2 cup (120ml) dairy-free milk (oat, almond, or soy)
Oat milk gives a neutral flavor; almond adds a slight nuttiness. Any unsweetened works.
2 tablespoons (30g) dairy-free butter, melted
Use a good quality vegan butter stick for best texture. Coconut oil also works but changes flavor slightly.
1 1/2 cups (255g) dairy-free chocolate chips (or chopped chocolate)
Look for semi-sweet or dark chocolate chips that are certified dairy-free. Enjoy Life is a great brand.
Tips & Tricks
Dip in cold chocolate
Make sure the chocolate is melted but not hot to the touch—around 90°F (32°C)—so the wafers don't soften.
Use a fork to dip
This lets excess chocolate drip off and gives a neat finish.
Chill between steps
If the chocolate starts to thicken, pop the bars in the fridge for a few minutes to set.
Pro Tips
Step-by-Step Instructions
1. Prep the wafers
Cut the wafer rolls into 2-inch (5 cm) pieces. If using flat wafers, cut into rectangles about 2×1 inches (5×2.5 cm). You'll need 4 layers per bar.
2. Mix the milk mixture
In a shallow bowl, whisk together the dairy-free milk and melted dairy-free butter. This will help the wafers stick together and soften slightly.
3. Layer the wafers
Dip each wafer piece quickly into the milk mixture, then stack 4 pieces on a baking sheet lined with parchment paper. Repeat with remaining wafers to make about 6 bars.
4. Chill the stacks
Place the baking sheet in the freezer for 10 minutes until the wafers are firm and slightly stuck together.
5. Melt the chocolate
In a microwave-safe bowl, melt the dairy-free chocolate in 30-second intervals, stirring between each, until smooth. Alternatively, use a double boiler. Let it cool to 90°F (32°C) if it's too hot.
6. Dip the bars
Using a fork, dip each chilled wafer stack into the melted chocolate, turning to coat all sides. Let excess drip off, then place back on the parchment paper.
7. Set the chocolate
Refrigerate the bars for 15-20 minutes until the chocolate is set and firm to the touch.
8. Snap and serve
Once set, break the bars along the wafer lines to create the classic 'snap' effect. Serve immediately or store.
Delicious Variations
White chocolate version
Use dairy-free white chocolate chips for a sweeter, creamier bar.
Mint chocolate
Add 1/2 teaspoon peppermint extract to the melted chocolate for a refreshing twist.
Crunchy topping
Sprinkle crushed freeze-dried raspberries or chopped nuts over the chocolate before it sets.
How to Store Dairy Free Kit Kat
Refrigerator
Store in an airtight container in the fridge for up to 1 week. Separate layers with parchment paper to prevent sticking.
Freezer
Freeze in a freezer-safe bag for up to 2 months. Thaw in the fridge for 10 minutes before eating.
Reheating
No reheating needed—enjoy cold or at room temperature. If too hard from the fridge, let sit out for 5 minutes.
Frequently Asked Questions
Q: Can I use regular milk instead of dairy-free?
Yes, you can use regular milk, but then it won't be dairy-free. The recipe works the same with any milk.
Q: Why are my wafers soggy?
Soggy wafers happen when the milk mixture is too wet or the chocolate is too hot. Dip quickly and let the chocolate cool to 90°F (32°C) before dipping.
Q: Can I make this with gluten-free wafers?
Absolutely! Look for gluten-free wafer cookies or use gluten-free graham crackers cut to size. The texture will be slightly different but still delicious.
Q: How do I get the chocolate to stick better?
Make sure the wafers are well chilled and the chocolate is at the right temperature. If the chocolate is too thick, add a teaspoon of coconut oil to thin it.
I hope you love these homemade Dairy Free Kit Kats as much as I do. If you try them, tag me in your photos—I'd love to see your crunchy creations! And remember, you're doing better than you think.
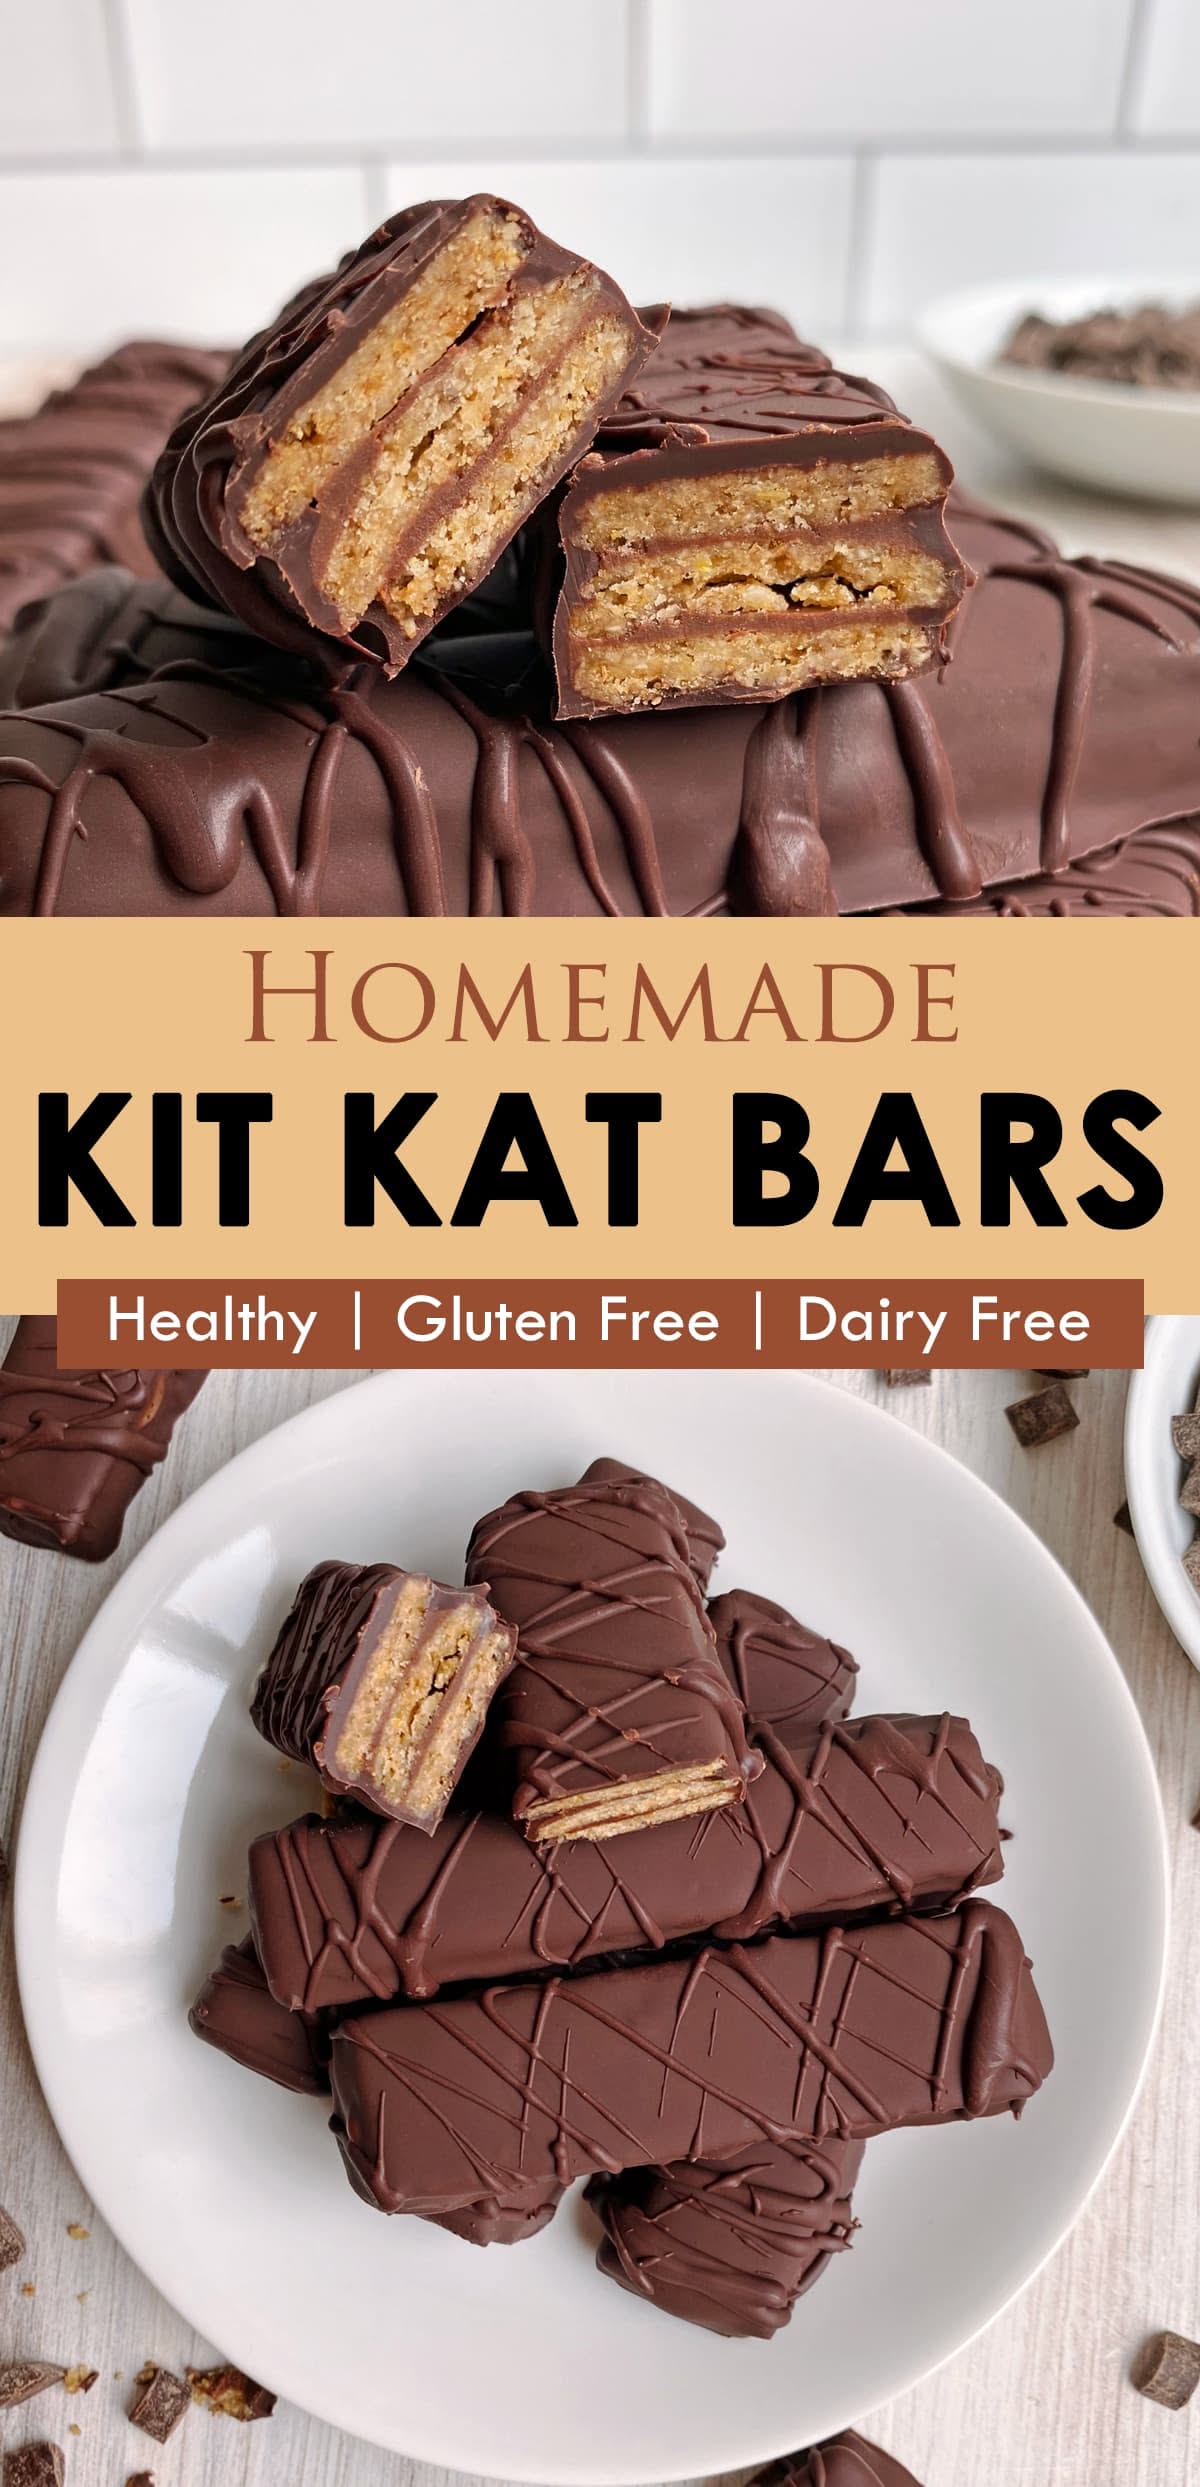
Dairy Free Kit Kat
Make your own crunchy, chocolatey Dairy Free Kit Kat bars at home with just 4 ingredients—no dairy, no fuss, all deliciousness.
🧂 Ingredients
- 1 cup (120g) dairy-free wafer cookies (like Pirouline or generic wafer rolls)
- 1/2 cup (120ml) dairy-free milk (oat, almond, or soy)
- 2 tablespoons (30g) dairy-free butter, melted
- 1 1/2 cups (255g) dairy-free chocolate chips (or chopped chocolate)
📋 Instructions
- 1Prep the wafers — Cut the wafer rolls into 2-inch (5 cm) pieces. If using flat wafers, cut into rectangles about 2×1 inches (5×2.5 cm). You'll need 4 layers per bar.
- 2Mix the milk mixture — In a shallow bowl, whisk together the dairy-free milk and melted dairy-free butter. This will help the wafers stick together and soften slightly.
- 3Layer the wafers — Dip each wafer piece quickly into the milk mixture, then stack 4 pieces on a baking sheet lined with parchment paper. Repeat with remaining wafers to make about 6 bars.
- 4Chill the stacks — Place the baking sheet in the freezer for 10 minutes until the wafers are firm and slightly stuck together.
- 5Melt the chocolate — In a microwave-safe bowl, melt the dairy-free chocolate in 30-second intervals, stirring between each, until smooth. Alternatively, use a double boiler. Let it cool to 90°F (32°C) if it's too hot.
- 6Dip the bars — Using a fork, dip each chilled wafer stack into the melted chocolate, turning to coat all sides. Let excess drip off, then place back on the parchment paper.
- 7Set the chocolate — Refrigerate the bars for 15-20 minutes until the chocolate is set and firm to the touch.
- 8Snap and serve — Once set, break the bars along the wafer lines to create the classic 'snap' effect. Serve immediately or store.

Sofia writes about parenting and family wellness, exploring the messy, joyful reality of raising kids. She offers relatable stories and practical advice on everything from sleep training to managing screen time, always with a dose of humor.