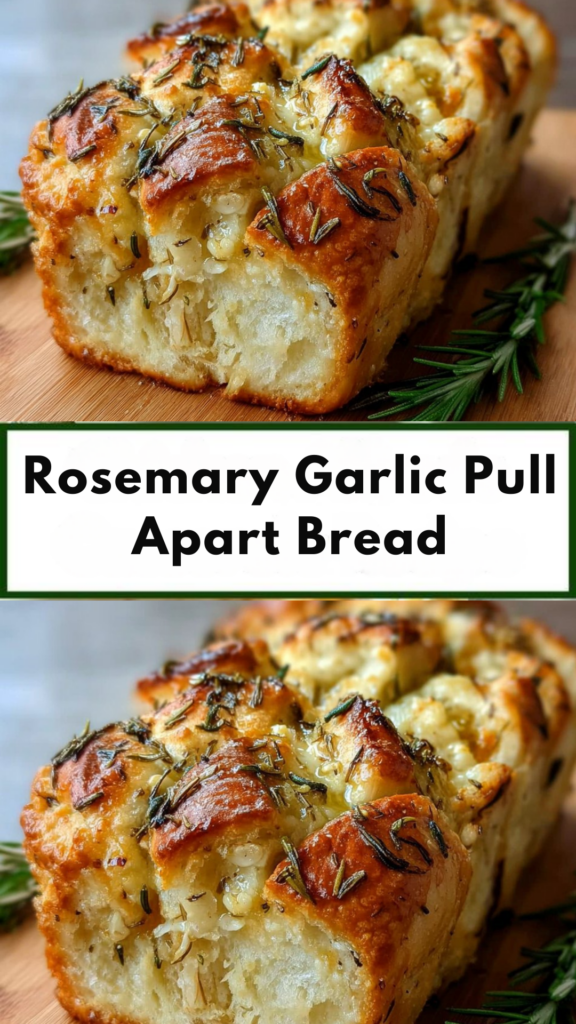
This Cheesy Garlic Pull Apart Bread is my go-to for game days and dinner parties. It delivers maximum flavor with minimal effort: a loaf of bread stuffed with a buttery garlic and herb mixture and two kinds of cheese, then baked until the edges are crispy and the center is molten.
Advertisements1
The key is to cut the bread in a grid pattern without slicing all the way through, which creates perfect pull-apart pieces. The result is a shareable appetizer that disappears in minutes. Whether you serve it as a starter or alongside a bowl of soup, it's a reliable crowd-pleaser.
Why You'll Love This Recipe
About the Ingredients
1 large loaf (about 16 oz / 450g) sourdough or Italian bread
Choose a round or oval loaf with a sturdy crust. If using a softer bread, reduce baking time by 5 minutes.
1/2 cup (113g) unsalted butter, melted
Use salted butter if you prefer a saltier flavor; adjust added salt accordingly.
4 cloves garlic, minced
Fresh garlic is best, but you can use 1 teaspoon garlic powder in a pinch.
2 tablespoons fresh parsley, chopped
Substitute 2 teaspoons dried parsley if fresh is unavailable.
1 teaspoon dried oregano
You can use Italian seasoning instead—just use 1 teaspoon total.
1/2 teaspoon salt
Adjust to taste; if using salted butter, reduce to 1/4 teaspoon.
1/4 teaspoon black pepper
Freshly ground pepper adds more flavor than pre-ground.
2 cups (226g) shredded mozzarella cheese
Use low-moisture mozzarella for better melting. You can also use a pizza blend.
1 cup (113g) shredded cheddar cheese
Sharp cheddar adds a tangy kick; try Gruyere or provolone for a different flavor.
Tips & Tricks
Don't cut all the way through the bread
Leave about 1/2 inch (1.25 cm) at the bottom to hold the loaf together. Use a serrated knife and cut in a grid pattern.
Watch the baking time
If the top starts browning too quickly, tent loosely with foil. The bread is done when the cheese is bubbly and the edges are golden brown.
- Use a baking sheet or a cast-iron skillet: Place the bread on a parchment-lined baking sheet to catch any cheese that melts off. A cast-iron skillet adds a nice crispy bottom.
Pro Tips
Step-by-Step Instructions
1. Preheat oven to 350°F
Preheat your oven to 350°F (175°C). Line a baking sheet with parchment paper or foil for easy cleanup.
2. Cut the bread
Using a serrated knife, cut the bread in a grid pattern, making cuts about 1 inch apart, but do not cut all the way through—leave about 1/2 inch at the bottom.
3. Make the butter mixture
In a small bowl, stir together the melted butter, minced garlic, parsley, oregano, salt, and pepper. This mixture will infuse the bread with flavor.
4. Stuff the bread
Gently pry open each cut and spoon the garlic butter mixture into the cuts, then stuff with a mixture of mozzarella and cheddar. Ensure cheese gets into every crevice.
5. Wrap and rest
Wrap the stuffed loaf in aluminum foil and let it rest for 10 minutes. This allows the butter to soak into the bread and the cheese to soften slightly.
6. Bake covered
Place the foil-wrapped bread on the prepared baking sheet and bake at 350°F (175°C) for 15 minutes. This melts the cheese and warms the bread through.
7. Uncover and brown
Carefully open the foil and continue baking for 10-15 minutes, until the cheese is fully melted and bubbly and the bread edges are golden brown. If the top browns too fast, cover loosely with foil.
8. Serve hot
Let the bread cool for 5 minutes before serving. Pull apart and enjoy while the cheese is still gooey.
Delicious Variations
- Add 1/2 cup cooked, crumbled bacon or 1/4 cup chopped jalapeños to the cheese mixture.
- Swap the cheddar for Gruyere and add 1 teaspoon Dijon mustard to the butter for a savory twist.
- Use a gluten-free bread and ensure your cheeses are gluten-free for a gluten-free version.
How to Store Cheesy Garlic Pull Apart Bread
Refrigerator
Store leftovers in an airtight container in the refrigerator for up to 3 days.
Freezer
Freeze the baked bread in a freezer-safe container for up to 1 month. Thaw overnight in the fridge before reheating.
Reheating
Reheat in a 350°F (175°C) oven for 10 minutes, or until warmed through and cheese is melted again.
Frequently Asked Questions
Q: Can I use a different type of bread?
Yes, any sturdy bread like French bread, ciabatta, or a rustic sourdough works well. Just ensure it's not too soft, or it may become soggy.
Q: Can I make this ahead of time?
Yes, you can assemble the bread, wrap it in foil, and refrigerate for up to 4 hours. When ready, bake as directed, adding 5 minutes to the covered baking time.
Q: How do I prevent the bread from getting soggy?
The key is to use a bread with a sturdy crust and to not overdo the butter. Also, baking uncovered for the final 10-15 minutes helps crisp the edges.
Q: Can I use pre-shredded cheese?
Yes, but pre-shredded cheese often contains anti-caking agents that affect melting. For the best melt, shred your own cheese from a block.
If you love this cheesy, garlicky pull-apart bread, try my other easy appetizer recipes like Spinach Artichoke Dip or Bacon-Wrapped Jalapeño Poppers. Don't forget to share your results in the comments below! Keep it simple, keep it growing.
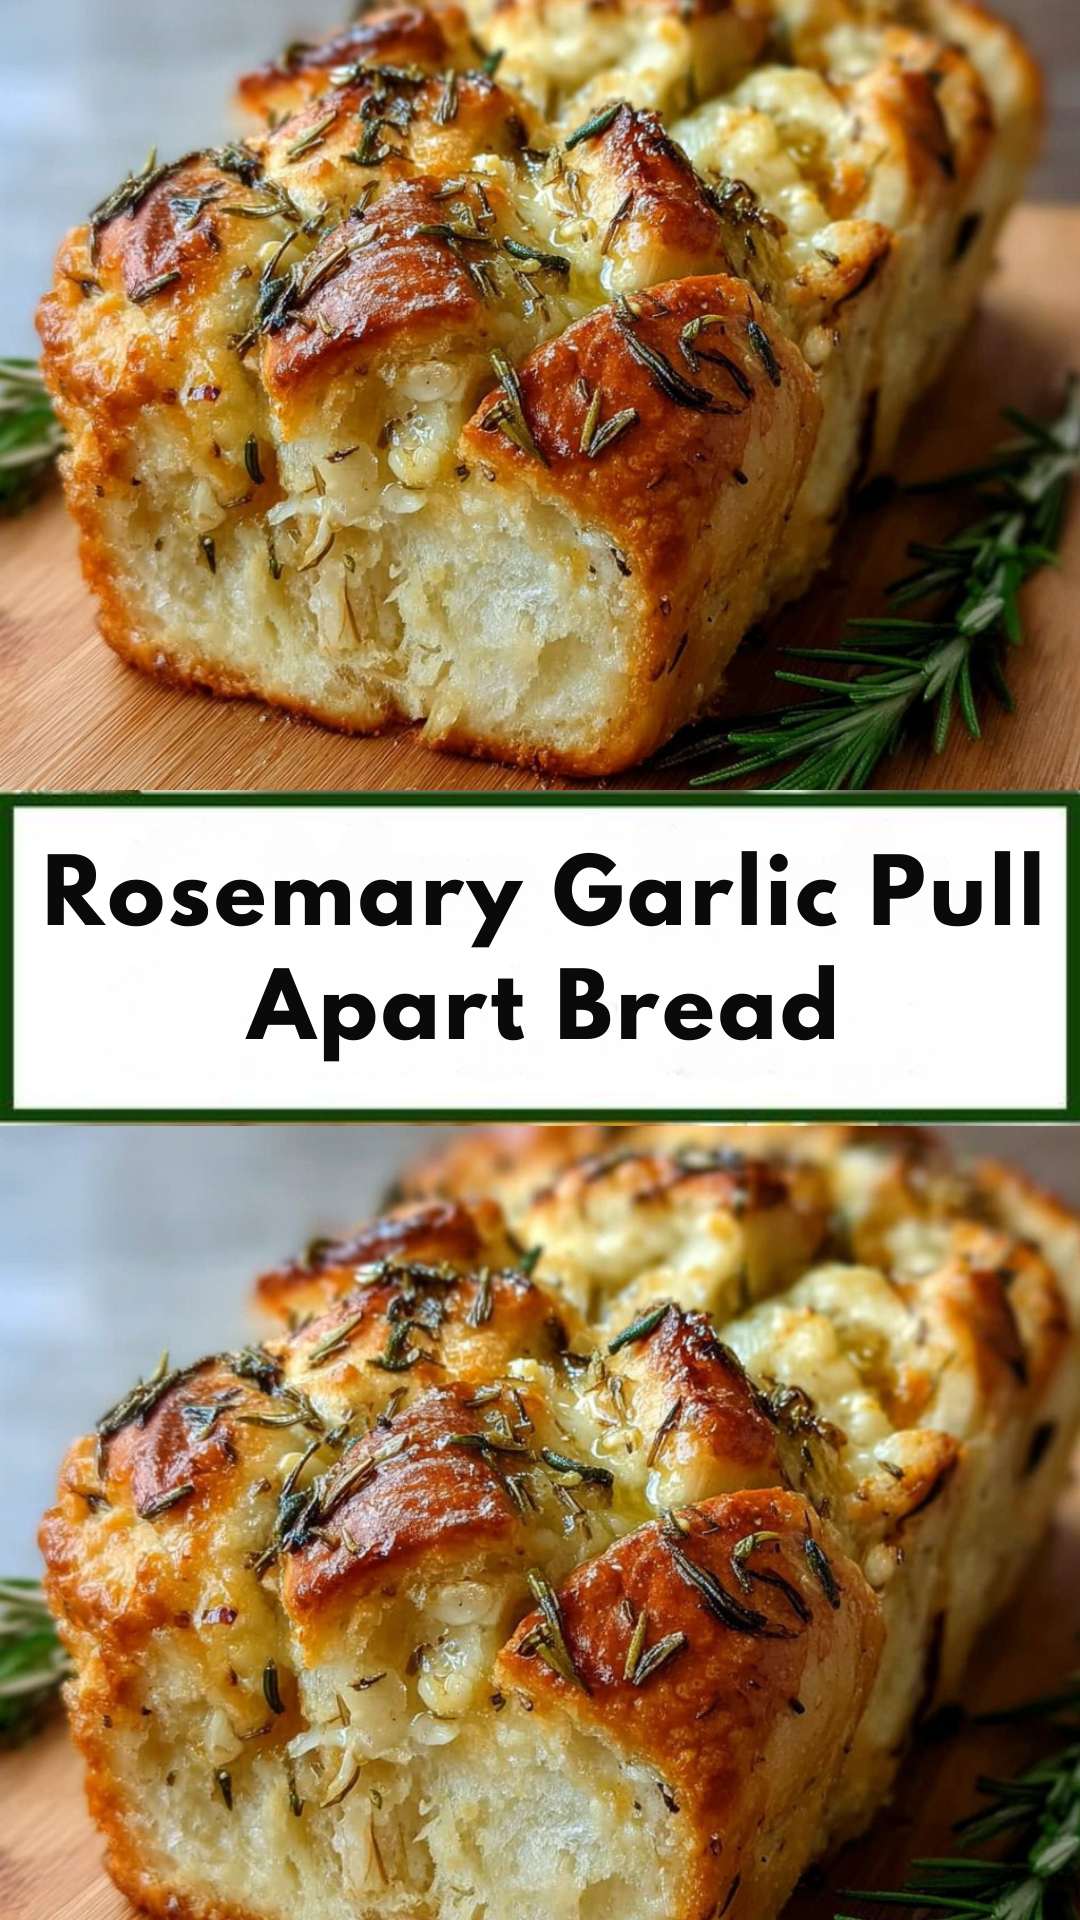
Cheesy Garlic Pull Apart Bread
Cheesy Garlic Pull Apart Bread is an easy, crowd-pleasing appetizer with gooey cheese and buttery garlic in every pull.
🧂 Ingredients
- 1 large loaf (about 16 oz / 450g) sourdough or Italian bread
- 1/2 cup (113g) unsalted butter, melted
- 4 cloves garlic, minced
- 2 tablespoons fresh parsley, chopped
- 1 teaspoon dried oregano
- 1/2 teaspoon salt
- 1/4 teaspoon black pepper
- 2 cups (226g) shredded mozzarella cheese
- 1 cup (113g) shredded cheddar cheese
📋 Instructions
- 1Preheat oven to 350°F — Preheat your oven to 350°F (175°C). Line a baking sheet with parchment paper or foil for easy cleanup.
- 2Cut the bread — Using a serrated knife, cut the bread in a grid pattern, making cuts about 1 inch apart, but do not cut all the way through—leave about 1/2 inch at the bottom.
- 3Make the butter mixture — In a small bowl, stir together the melted butter, minced garlic, parsley, oregano, salt, and pepper. This mixture will infuse the bread with flavor.
- 4Stuff the bread — Gently pry open each cut and spoon the garlic butter mixture into the cuts, then stuff with a mixture of mozzarella and cheddar. Ensure cheese gets into every crevice.
- 5Wrap and rest — Wrap the stuffed loaf in aluminum foil and let it rest for 10 minutes. This allows the butter to soak into the bread and the cheese to soften slightly.
- 6Bake covered — Place the foil-wrapped bread on the prepared baking sheet and bake at 350°F (175°C) for 15 minutes. This melts the cheese and warms the bread through.
- 7Uncover and brown — Carefully open the foil and continue baking for 10-15 minutes, until the cheese is fully melted and bubbly and the bread edges are golden brown. If the top browns too fast, cover loosely with foil.
- 8Serve hot — Let the bread cool for 5 minutes before serving. Pull apart and enjoy while the cheese is still gooey.

Liam covers personal finance and investing for beginners, demystifying money management with clear, no-nonsense advice. He focuses on budgeting, saving, and long-term wealth building, often using real-life scenarios to illustrate concepts.