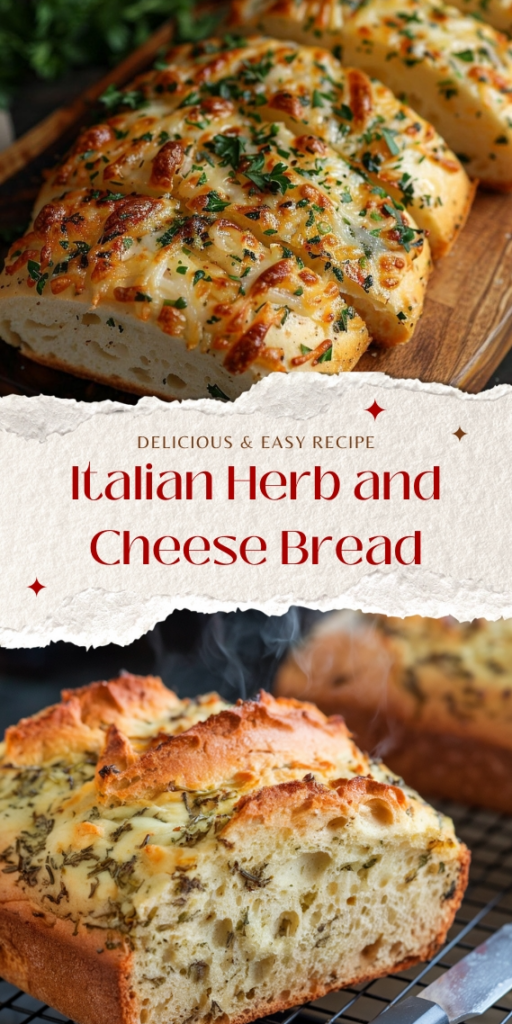
I still remember the first time I tried to bake bread. I was 22, my kitchen was the size of a closet, and I was convinced I'd end up with a brick. Spoiler: I did. But that brick taught me something important – bread doesn't have to be complicated to be wonderful. That's why I created this Easy Bread recipe.
Advertisements1
This is the bread I now make every single week. It requires no kneading, no fancy equipment, and no bread flour. Just a bowl, a spoon, and a little patience. The result? A golden, crusty-on-the-outside, pillowy-soft-inside loaf that makes your whole house smell like a bakery.
Whether you're a seasoned baker or someone who's never touched yeast, this recipe is for you. It's forgiving, flexible, and utterly delicious. Let's get baking!
Why You'll Love This Recipe
About the Ingredients
3 cups (390g) all-purpose flour
Regular all-purpose flour works perfectly. For a chewier crumb, substitute up to 1 cup with bread flour.
1 1/2 teaspoons salt
Fine sea salt or table salt. If using coarse kosher salt, increase to 2 teaspoons.
1/2 teaspoon instant yeast
Instant yeast (also called rapid-rise) doesn't need proofing. If using active dry yeast, dissolve it in the water first.
1 1/2 cups (355ml) warm water (about 105°F/40°C)
Warm water wakes up the yeast. Too hot kills it, too cold slows it down. If you don't have a thermometer, it should feel like a warm bath.
1 tablespoon olive oil (optional)
Adds a touch of richness and helps browning. You can skip it or use melted butter.
1 tablespoon honey or sugar (optional)
A little sweetener feeds the yeast and adds flavor. You can omit it for a more savory loaf.
Tips & Tricks
- Use a kitchen scale for accuracy – flour measurement can vary wildly with cups.
- Don't rush the rise. If your kitchen is cool, the dough may need 14-16 hours.
- Preheat your Dutch oven (or heavy pot) thoroughly – a hot pot creates steam for a crispy crust.
Pro Tips
Step-by-Step Instructions
1. Mix the Dough
In a large bowl, whisk together flour, salt, and yeast. Add warm water (and honey/olive oil if using). Stir with a wooden spoon until a shaggy dough forms and no dry flour remains. It will be sticky – that's correct.
2. Cover and Rest
Cover the bowl with plastic wrap or a clean kitchen towel. Let it rest at room temperature (about 70°F/21°C) for 12-18 hours. The dough is ready when it's dotted with bubbles and doubled in size.
3. Shape the Dough
Turn the dough out onto a heavily floured surface. Gently fold it over itself a few times, then shape into a ball. Don't knead – just handle it lightly. Place the ball on a piece of parchment paper.
4. Second Rise
Cover the dough with the same towel and let it rise for another 1-2 hours. It should puff up slightly but not double. Meanwhile, place a Dutch oven (with lid) in your oven and preheat to 450°F (230°C).
5. Bake Covered
Carefully remove the hot pot from the oven. Using the parchment paper, lower the dough into the pot. Cover with the lid and bake at 450°F (230°C) for 30 minutes. This traps steam and creates a crispy crust.
6. Bake Uncovered
Remove the lid and continue baking for 10-15 minutes, until the crust is deep golden brown and the internal temperature reaches 200°F (93°C). The bread should sound hollow when tapped on the bottom.
7. Cool Completely
Transfer the bread to a wire rack and let it cool for at least 1 hour before slicing. This step is crucial – cutting too early makes the crumb gummy.
Delicious Variations
- Add 1 tablespoon of dried rosemary and 1 teaspoon of garlic powder to the flour for a savory herb loaf.
- Mix in 1/2 cup of shredded cheddar and a handful of chopped jalapeños for a cheesy kick.
- Swap 1 cup of all-purpose flour with whole wheat flour and add an extra 2 tablespoons of water.
How to Store Easy Bread
Refrigerator
Store in a paper bag at room temperature for up to 2 days. For longer storage, wrap tightly in plastic and refrigerate for up to 5 days.
Freezer
Slice and freeze in an airtight bag for up to 3 months. Thaw at room temperature or toast directly from frozen.
Reheating
Refresh in a 350°F (175°C) oven for 5-10 minutes until warm and crusty.
Frequently Asked Questions
Q: Why didn't my bread rise?
Your yeast may be dead or your water too hot. Check the expiration date on your yeast and ensure the water is between 105-115°F (40-46°C). Also, make sure your kitchen isn't too cold – it needs a warm spot.
Q: Can I use all-purpose flour instead of bread flour?
Yes, absolutely. All-purpose flour works perfectly in this recipe. For a chewier texture, you can replace up to half of the all-purpose flour with bread flour.
Q: Do I need a Dutch oven?
A Dutch oven is ideal because it traps steam, but you can use any heavy oven-safe pot with a lid. If you don't have one, place a pan of water on the lower rack to create steam and bake on a baking sheet.
Q: How do I know when the bread is done?
The crust should be deep golden brown and the internal temperature should read 200°F (93°C) on an instant-read thermometer. Tapping the bottom should produce a hollow sound.
Q: Can I make this bread gluten-free?
This recipe relies on gluten for structure, so a direct swap is not recommended. Instead, use a gluten-free bread flour blend specifically designed for yeast baking and expect a denser texture.
I hope you give this Easy Bread a try – it's a game-changer for busy weeknights and lazy weekends alike. Don't forget to tag me when you bake it; I love seeing your golden loaves! And remember, you're doing better than you think.
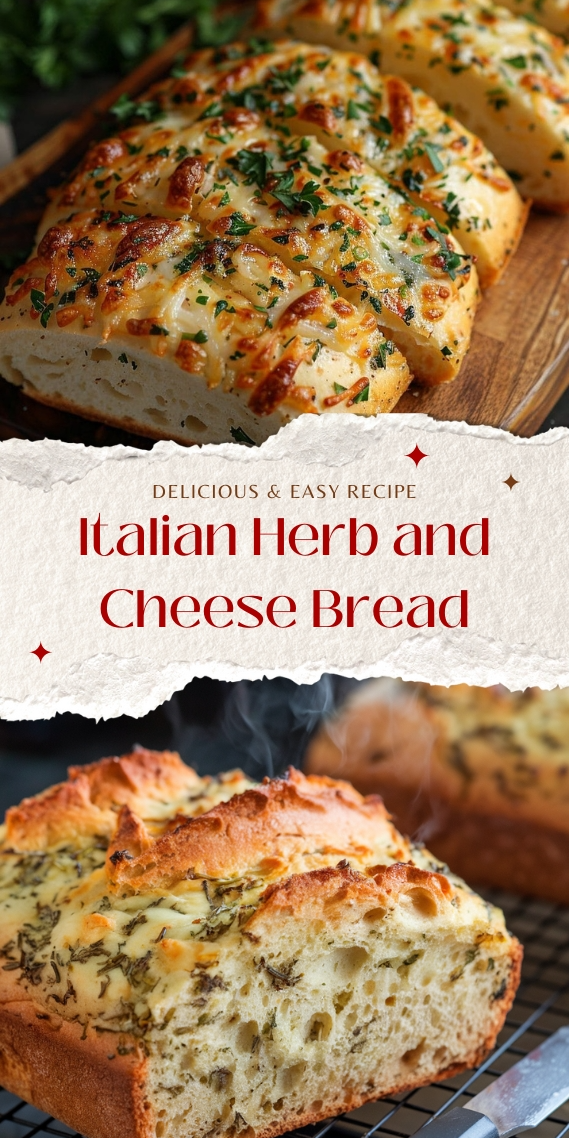
Easy Bread
Easy Bread is a soft, fluffy no-knead loaf that comes together with just 6 ingredients and minimal effort. Perfect for beginners!
🧂 Ingredients
- 3 cups (390g) all-purpose flour
- 1 1/2 teaspoons salt
- 1/2 teaspoon instant yeast
- 1 1/2 cups (355ml) warm water (about 105°F/40°C)
- 1 tablespoon olive oil (optional)
- 1 tablespoon honey or sugar (optional)
📋 Instructions
- 1Mix the Dough — In a large bowl, whisk together flour, salt, and yeast. Add warm water (and honey/olive oil if using). Stir with a wooden spoon until a shaggy dough forms and no dry flour remains. It will be sticky – that's correct.
- 2Cover and Rest — Cover the bowl with plastic wrap or a clean kitchen towel. Let it rest at room temperature (about 70°F/21°C) for 12-18 hours. The dough is ready when it's dotted with bubbles and doubled in size.
- 3Shape the Dough — Turn the dough out onto a heavily floured surface. Gently fold it over itself a few times, then shape into a ball. Don't knead – just handle it lightly. Place the ball on a piece of parchment paper.
- 4Second Rise — Cover the dough with the same towel and let it rise for another 1-2 hours. It should puff up slightly but not double. Meanwhile, place a Dutch oven (with lid) in your oven and preheat to 450°F (230°C).
- 5Bake Covered — Carefully remove the hot pot from the oven. Using the parchment paper, lower the dough into the pot. Cover with the lid and bake at 450°F (230°C) for 30 minutes. This traps steam and creates a crispy crust.
- 6Bake Uncovered — Remove the lid and continue baking for 10-15 minutes, until the crust is deep golden brown and the internal temperature reaches 200°F (93°C). The bread should sound hollow when tapped on the bottom.
- 7Cool Completely — Transfer the bread to a wire rack and let it cool for at least 1 hour before slicing. This step is crucial – cutting too early makes the crumb gummy.

Sofia writes about parenting and family wellness, exploring the messy, joyful reality of raising kids. She offers relatable stories and practical advice on everything from sleep training to managing screen time, always with a dose of humor.