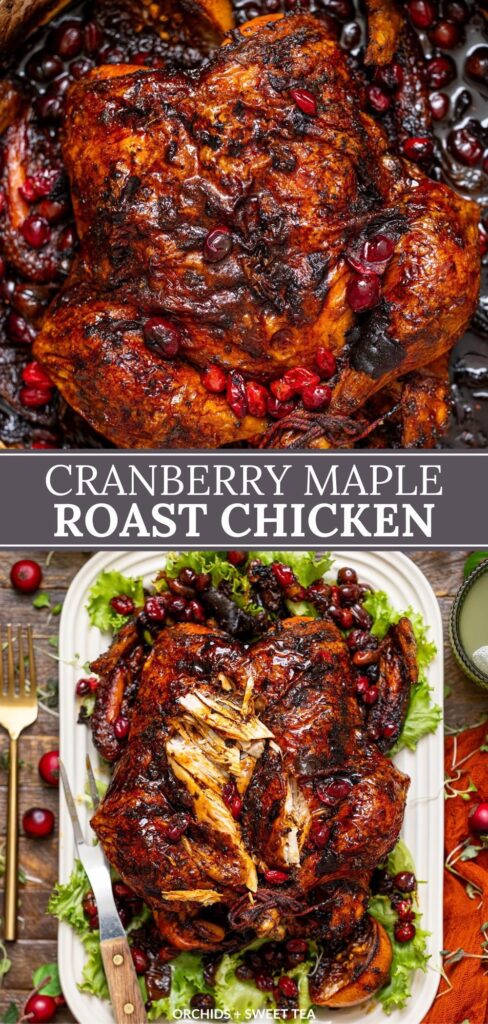
Cranberry Maple Roast Chicken takes a whole bird, a bag of fresh cranberries, and real maple syrup, and turns them into a lacquered, deep-mahogany roast with almost no work. The glaze does the heavy lifting: the sugars in the maple and cranberry reduce into a sticky shell that holds moisture in the breast meat while the skin crisps.
Advertisements1
Most roast chicken recipes ask you to baste every 15 minutes. This one doesn't. You build a tart-sweet glaze on the stovetop in 8 minutes, pour half over the chicken before it goes in, and finish with the rest at the end so the sugars never burn. That two-stage approach is the difference between glossy and bitter.
The numbers matter here: a 4.5 to 5 pound bird at 425F (220C) needs roughly 20 minutes per pound, so plan on 65 to 75 minutes total. Pull it at 165F (74C) in the thigh, rest 15 minutes, and you get juicy meat with a cranberry-maple pan sauce you can spoon over everything.
Why You'll Love This Recipe
About the Ingredients
1 whole chicken, 4.5 to 5 lb (2 to 2.3 kg), giblets removed
Look for an air-chilled bird if your store carries it; it holds less water and browns faster. If you only find a 6 lb bird, add 15 minutes to the roast time and check at the 80-minute mark.
1 1/2 cups (150g) fresh or frozen cranberries
Frozen cranberries work without thawing and actually release more juice as they burst. If cranberries are out of season, 1 1/2 cups of fresh or frozen raspberries give a similar tartness with softer texture.
1/2 cup (120ml) pure maple syrup, Grade A dark or amber
Dark and amber grades carry more caramel notes than light. Do not substitute pancake syrup or honey 1:1; honey browns faster and will scorch at 425F (220C).
3 tbsp (45ml) unsalted butter, divided
Salted butter works if you cut the added salt in the rub to 1/2 tsp. For a dairy-free version, use 3 tbsp of olive oil and skip the basting step.
2 tbsp (30ml) apple cider vinegar
This cuts the sweetness and helps the glaze thicken. White wine vinegar or lemon juice are fine swaps, but reduce lemon to 1 tbsp since it is sharper.
2 tbsp (30g) light brown sugar, packed
Brown sugar speeds up caramelization on the skin. Dark brown sugar adds more molasses flavor; granulated sugar will not give the same sticky finish.
1 tbsp fresh rosemary, chopped, plus 2 sprigs for the pan
Thyme is the closest substitute, use 1 1/2 tsp dried or 1 tbsp fresh. Dried rosemary is tough; crush it between your fingers before using.
1 tbsp kosher salt, plus more for the rub
Kosher salt flakes season more evenly than fine table salt. If using table salt, cut to 2 tsp total because the crystals are denser.
1 tsp freshly ground black pepper
Pre-ground pepper loses its oils fast. Grind it right before mixing the rub; you will smell the difference immediately.
1 large orange, zested and halved
The zest goes in the glaze, the halves go inside the cavity. A large lemon works, but use only half the zest since it is more bitter.
1 medium yellow onion, quartered
Onion lifts the pan sauce; shallots give a sweeter, milder result. Do not skip it, the aromatics keep the drippings from burning.
Tips & Tricks
Dry the Skin Completely
Pat the chicken dry with paper towels and let it sit uncovered in the fridge for 30 minutes if you have time. Any surface moisture steams the skin instead of crisping it.
Glaze Late, Not Early
Sugar burns above 350F (175C). Add the second half of the glaze only in the last 10 minutes so it thickens into a shell rather than turning black.
Use a Thermometer, Not the Timer
Check the thickest part of the thigh, not touching bone. 165F (74C) is done; carryover cooking adds another 5F during the rest.
Rest Before Cutting
Fifteen minutes of rest lets the juices redistribute. Cut at 5 minutes and you lose roughly a quarter cup of juice onto the board instead of into the meat.
Pro Tips
Step-by-Step Instructions
1. Heat Oven and Dry Bird
Set a rack in the middle position and preheat to 425F (220C). Pat the chicken dry inside and out with paper towels, then season the cavity with 1 tsp kosher salt.
2. Build the Cranberry Glaze
In a small saucepan over medium heat, combine cranberries, maple syrup, vinegar, brown sugar, orange zest, rosemary, and 1/4 tsp salt. Simmer 8 to 10 minutes until the berries burst and the liquid coats a spoon, then stir in 1 tbsp butter and set aside.
3. Season the Skin
Rub the chicken all over with the remaining 2 tbsp softened butter, then the remaining salt and the black pepper. Work some under the breast skin with your fingers for extra flavor.
4. Fill the Cavity
Stuff the orange halves and quartered onion into the cavity. This aromatics the meat from the inside and adds moisture to the pan drippings.
5. Roast With First Glaze
Place the chicken breast-side up on a rack in a roasting pan, pour half the glaze over the top, and roast at 425F (220C) for 40 minutes. The skin should be light golden and the glaze set but not dark.
6. Baste and Finish
Spoon the pan juices over the bird, pour on the remaining glaze, and roast another 25 to 35 minutes. It is done when the skin is deep mahogany and bubbling at the edges and a thigh thermometer reads 165F (74C).
7. Rest the Chicken
Move the chicken to a cutting board, tent loosely with foil, and rest 15 minutes. The internal temperature will climb about 5F (3C) as it sits.
8. Make the Pan Sauce
Set the roasting pan over medium heat, mash the cranberries with a spoon, and simmer 3 to 4 minutes until thickened. Spoon off excess fat, taste for salt, and serve alongside the carved chicken.
Delicious Variations
Balsamic Cranberry Version
Swap the apple cider vinegar for balsamic and add 1 tsp Dijon to the glaze. The result is darker, less sweet, and closer to a gastrique.
Spatchcocked and Faster
Remove the backbone, flatten the bird, and roast at 450F (230C) for 35 to 45 minutes. More surface area means more glaze coverage and a 30-minute time savings.
Sheet Pan With Root Vegetables
Nestle halved baby potatoes and carrots around the bird and add 1/2 cup chicken broth to the pan. Roast as written, stirring the vegetables at the 40-minute mark.
How to Store Cranberry Maple Roast Chicken
Refrigerator
Cool within 2 hours, then refrigerate carved meat and sauce in separate airtight containers for up to 4 days. Keep the sauce in its own container so the skin does not go soggy.
Freezer
Freeze shredded meat with a few spoonfuls of sauce in a freezer bag, pressed flat, for up to 3 months. Thaw overnight in the refrigerator before reheating.
Reheating
Reheat covered at 325F (165C) for 12 to 15 minutes, or microwave individual portions for 90 seconds. Add a splash of water or stock to keep the meat from drying out.
Frequently Asked Questions
Q: Can I use frozen cranberries for this roast chicken?
Yes, frozen cranberries work without thawing and often release more juice than fresh. Add them straight to the saucepan and expect the glaze to take about 2 extra minutes to thicken.
Q: What temperature should roast chicken be cooked to?
The USDA recommends 165F (74C) measured in the thickest part of the thigh without touching bone. At that point the juices run clear and the meat is safe but still juicy if you rest it 15 minutes.
Q: Why did my maple glaze burn?
Maple syrup and brown sugar scorch above 350F (175C), and a 425F (220C) oven is well past that. Add the second half of the glaze only in the final 10 minutes and tent with foil if the top darkens too fast.
Q: Can I make this with chicken thighs or breasts instead of a whole bird?
Yes, use 6 bone-in skin-on thighs and roast at 425F (220C) for 30 to 35 minutes, or 4 bone-in breasts for 35 to 40 minutes. Glaze in two stages the same way and check for 165F (74C).
Q: Do I need to baste this chicken?
No, basting is unnecessary here because the glaze and the butter rub keep the surface moist. Opening the oven repeatedly drops the temperature and slows browning, so leave it closed until the 40-minute mark.
Roast it once and you will stop looking for other chicken recipes. If you make it, leave a rating and tell me your oven time, because 425F (220C) runs hot in some kitchens and cold in others. Keep it simple, keep it growing.
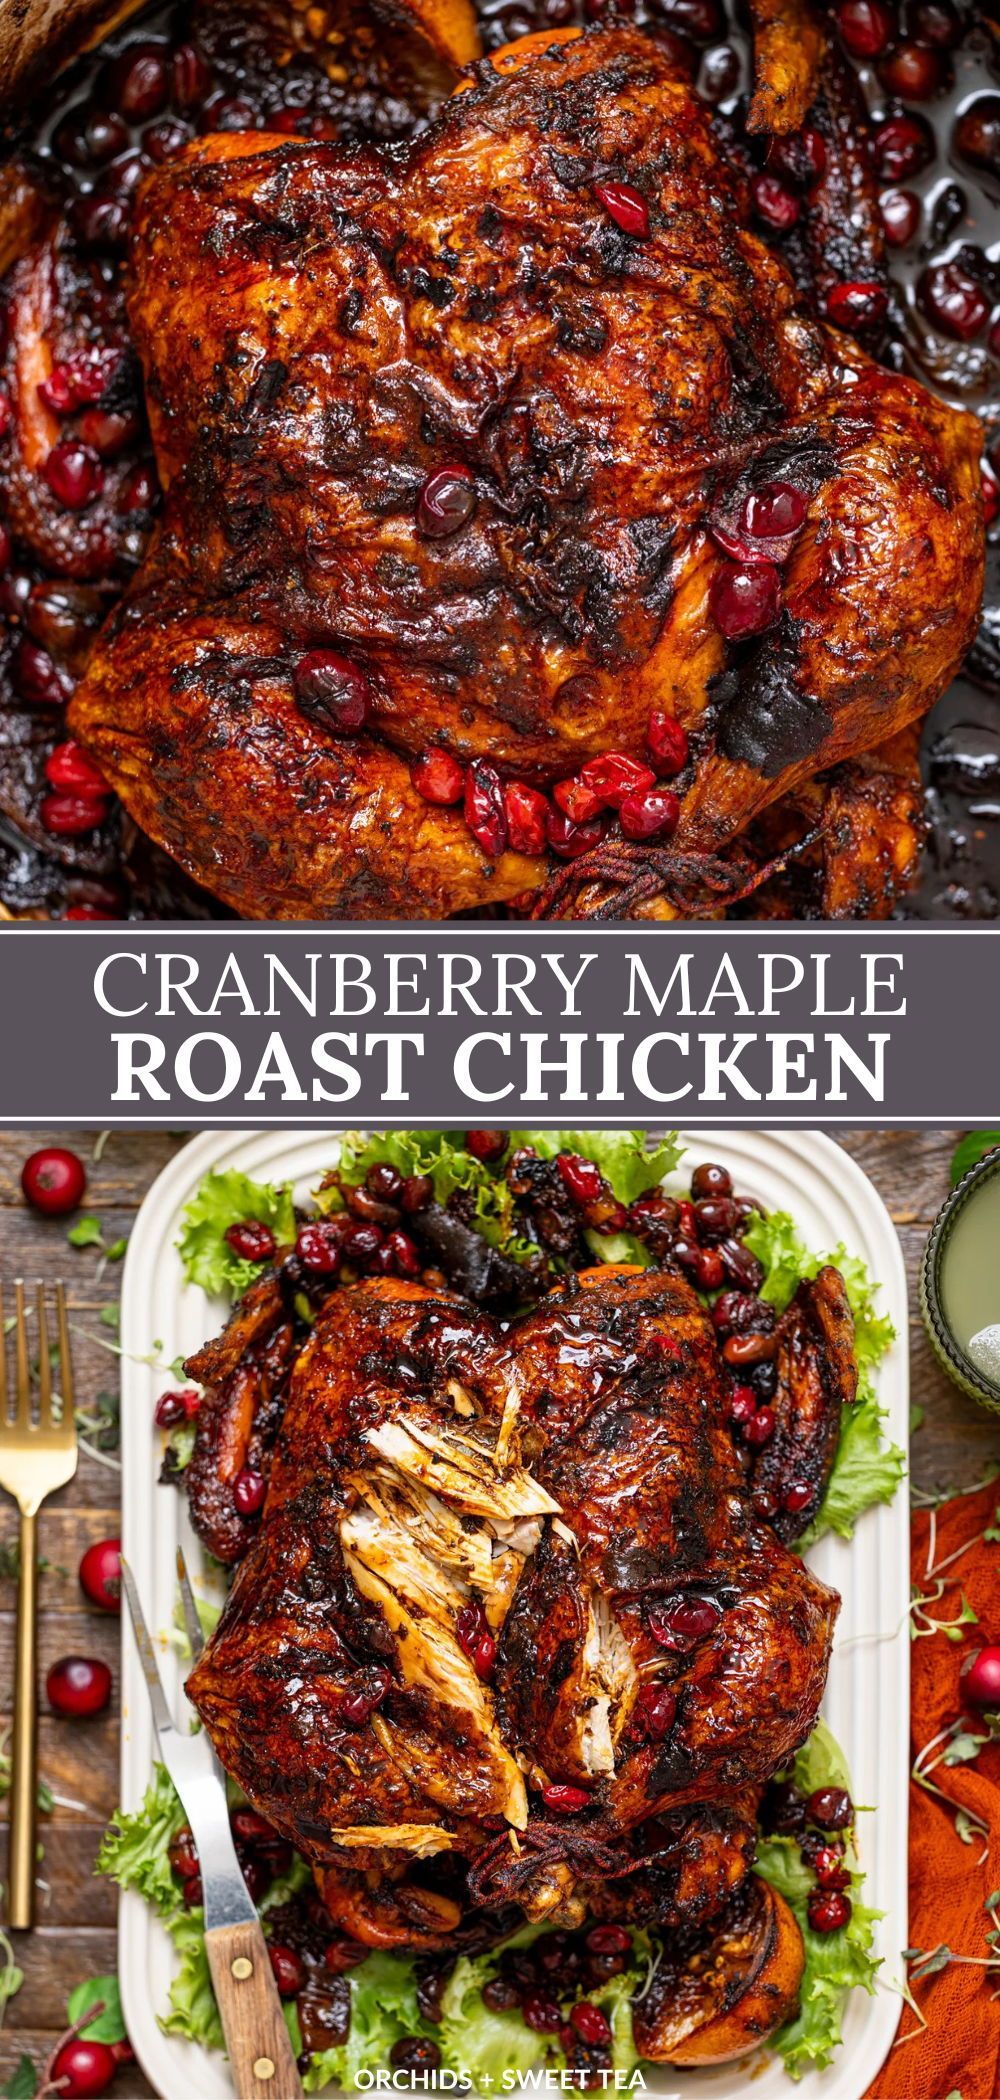
Cranberry Maple Roast Chicken
Cranberry Maple Roast Chicken delivers sticky-sweet, tangy glaze and crackling golden skin from one pan, with a 10-minute prep and zero basting.
🧂 Ingredients
- 1 whole chicken, 4.5 to 5 lb (2 to 2.3 kg), giblets removed
- 1 1/2 cups (150g) fresh or frozen cranberries
- 1/2 cup (120ml) pure maple syrup, Grade A dark or amber
- 3 tbsp (45ml) unsalted butter, divided
- 2 tbsp (30ml) apple cider vinegar
- 2 tbsp (30g) light brown sugar, packed
- 1 tbsp fresh rosemary, chopped, plus 2 sprigs for the pan
- 1 tbsp kosher salt, plus more for the rub
- 1 tsp freshly ground black pepper
- 1 large orange, zested and halved
- 1 medium yellow onion, quartered
📋 Instructions
- 1Heat Oven and Dry Bird — Set a rack in the middle position and preheat to 425F (220C). Pat the chicken dry inside and out with paper towels, then season the cavity with 1 tsp kosher salt.
- 2Build the Cranberry Glaze — In a small saucepan over medium heat, combine cranberries, maple syrup, vinegar, brown sugar, orange zest, rosemary, and 1/4 tsp salt. Simmer 8 to 10 minutes until the berries burst and the liquid coats a spoon, then stir in 1 tbsp butter and set aside.
- 3Season the Skin — Rub the chicken all over with the remaining 2 tbsp softened butter, then the remaining salt and the black pepper. Work some under the breast skin with your fingers for extra flavor.
- 4Fill the Cavity — Stuff the orange halves and quartered onion into the cavity. This aromatics the meat from the inside and adds moisture to the pan drippings.
- 5Roast With First Glaze — Place the chicken breast-side up on a rack in a roasting pan, pour half the glaze over the top, and roast at 425F (220C) for 40 minutes. The skin should be light golden and the glaze set but not dark.
- 6Baste and Finish — Spoon the pan juices over the bird, pour on the remaining glaze, and roast another 25 to 35 minutes. It is done when the skin is deep mahogany and bubbling at the edges and a thigh thermometer reads 165F (74C).
- 7Rest the Chicken — Move the chicken to a cutting board, tent loosely with foil, and rest 15 minutes. The internal temperature will climb about 5F (3C) as it sits.
- 8Make the Pan Sauce — Set the roasting pan over medium heat, mash the cranberries with a spoon, and simmer 3 to 4 minutes until thickened. Spoon off excess fat, taste for salt, and serve alongside the carved chicken.

Liam covers personal finance and investing for beginners, demystifying money management with clear, no-nonsense advice. He focuses on budgeting, saving, and long-term wealth building, often using real-life scenarios to illustrate concepts.